
Last updated September 2026
Original van blog post: My Ram Promaster Van
What Am I Actually Doing With This Van?
I’ve had a few people ask what I’m planning to do with the van, and the answer has changed somewhat since I bought it.
This post is partly an attempt to answer that question and partly a status report for myself. I’ve made enough progress, changed enough ideas, and accumulated enough little design decisions that it seems worthwhile to document where things stand.
I expect the van will continue to evolve, so this gives me something to refer back to later when I’m trying to remember why I did something a particular way.
For anyone else who is curious what the heck I’m doing with this thing, this should answer most of the questions—and add a nauseating amount of additional detail I find useful or important.
The Longer-Term Idea
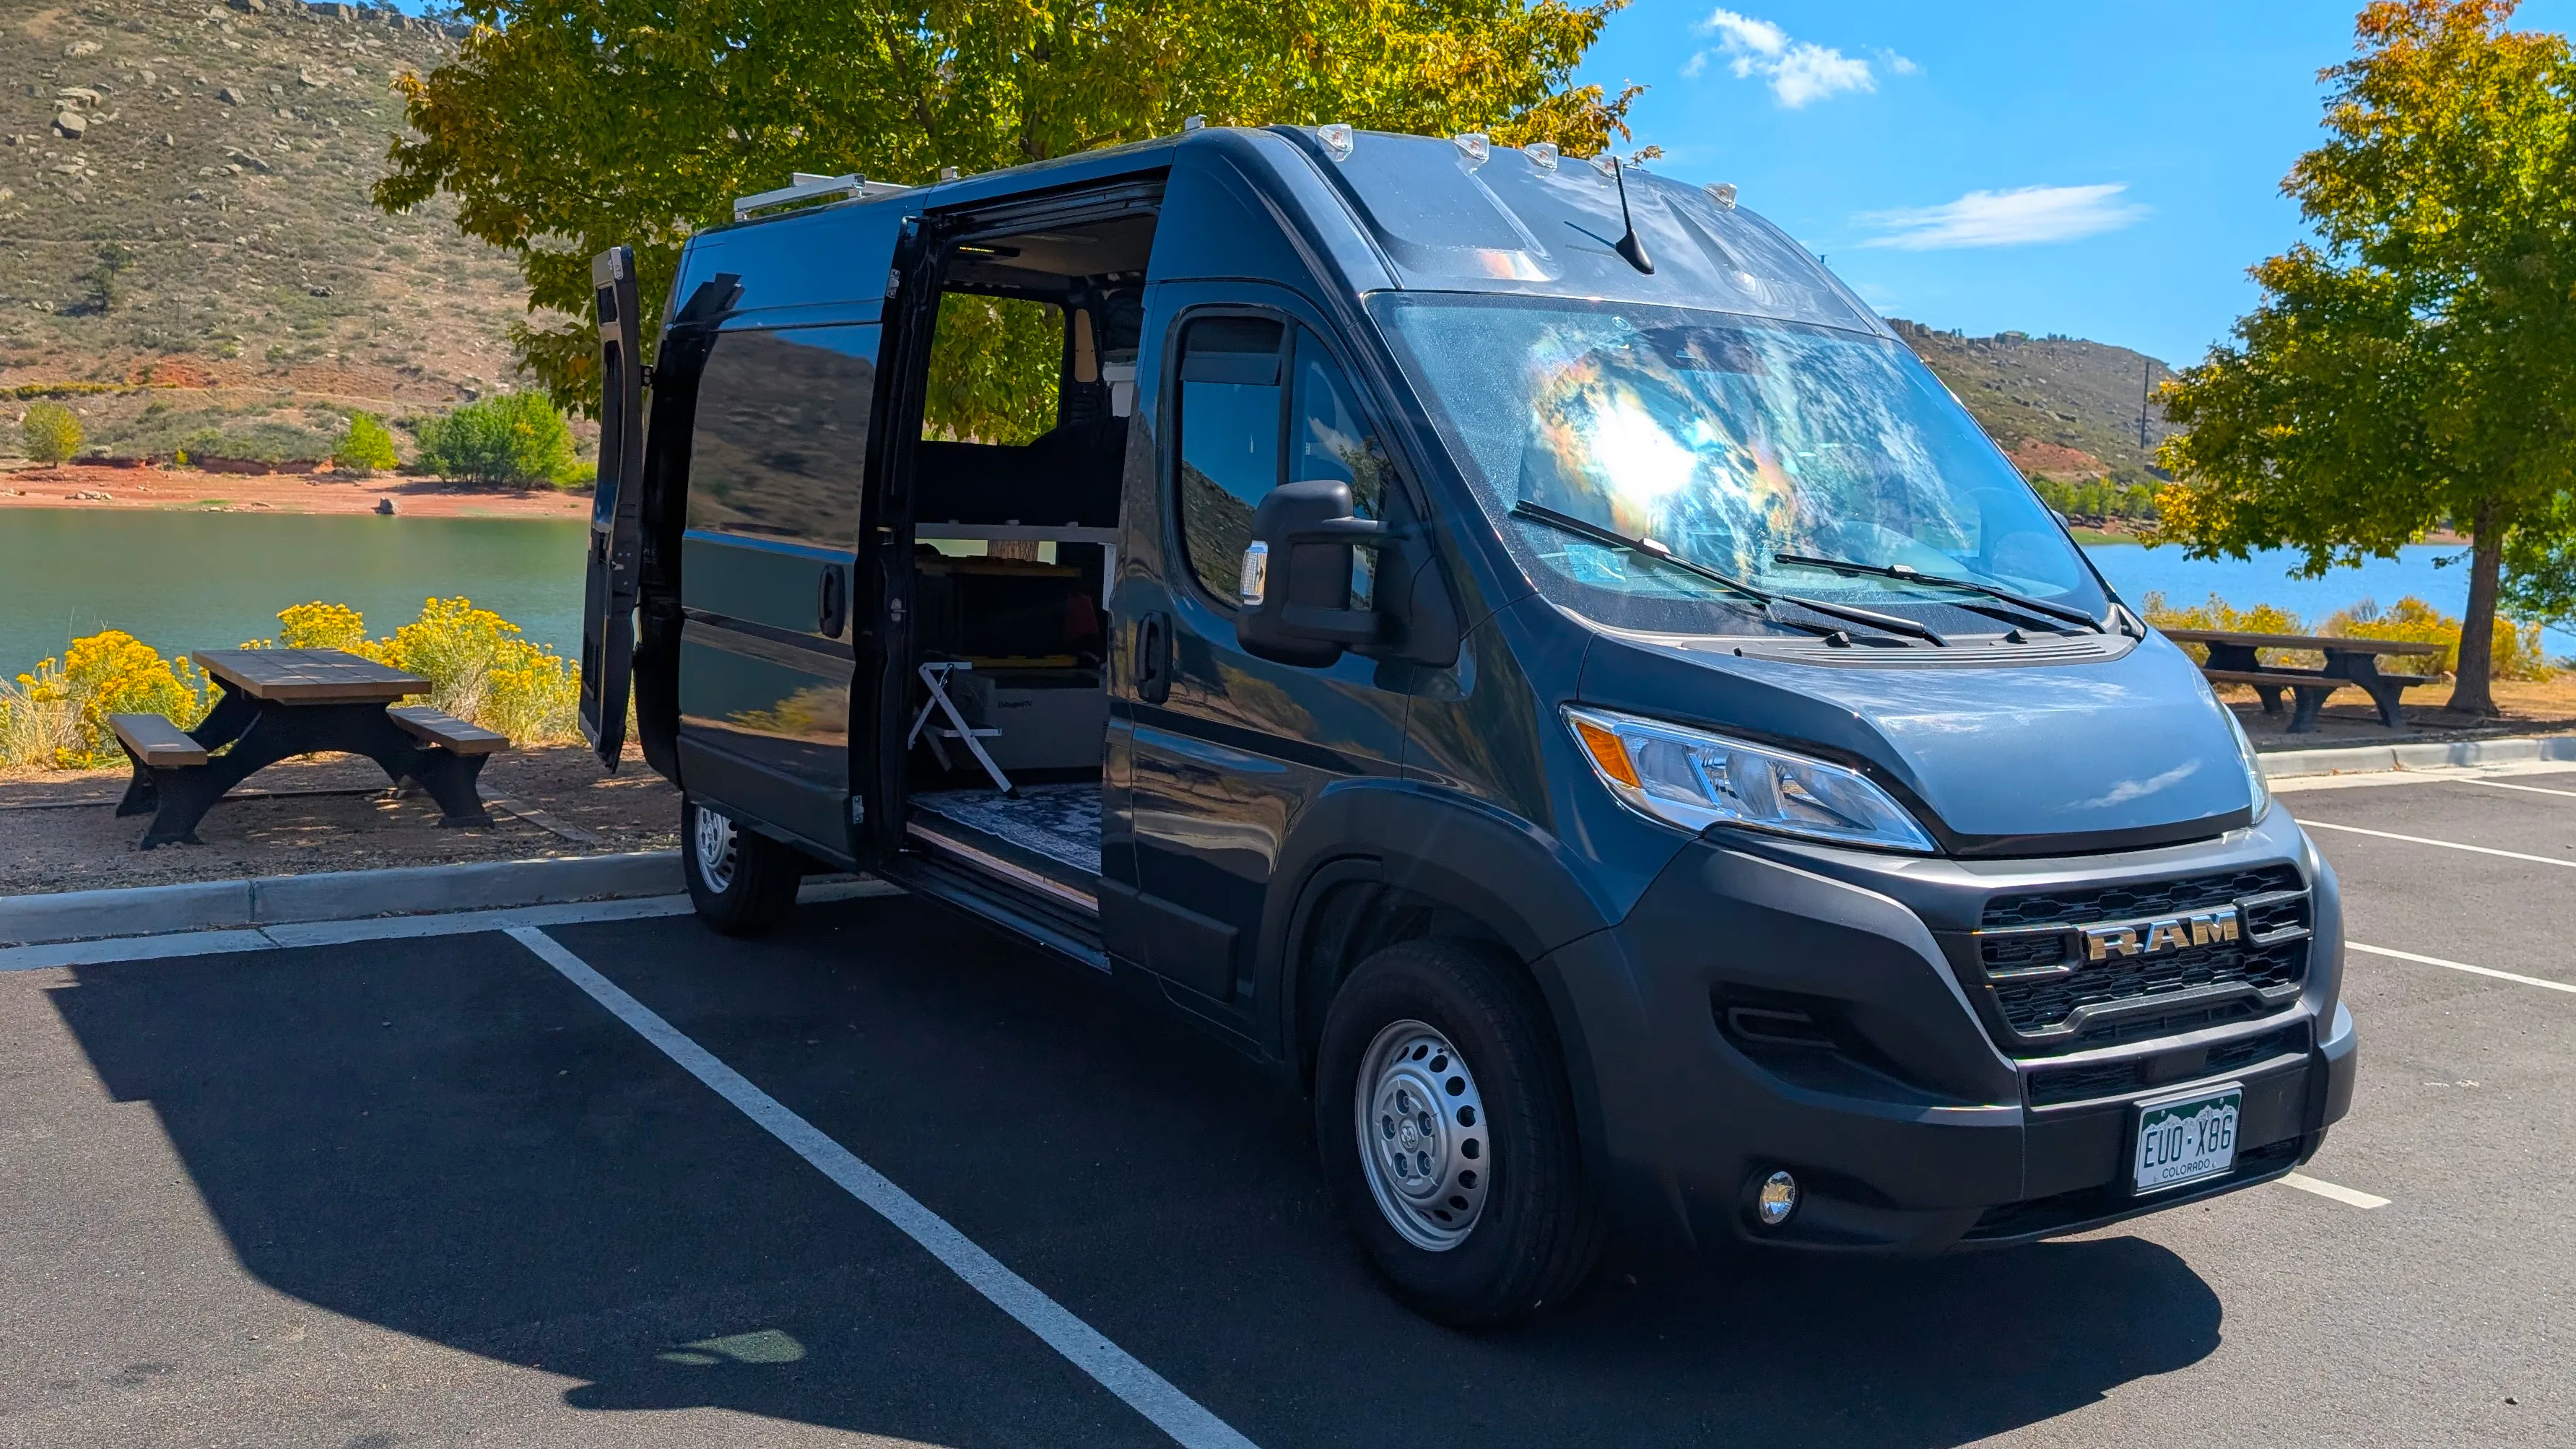
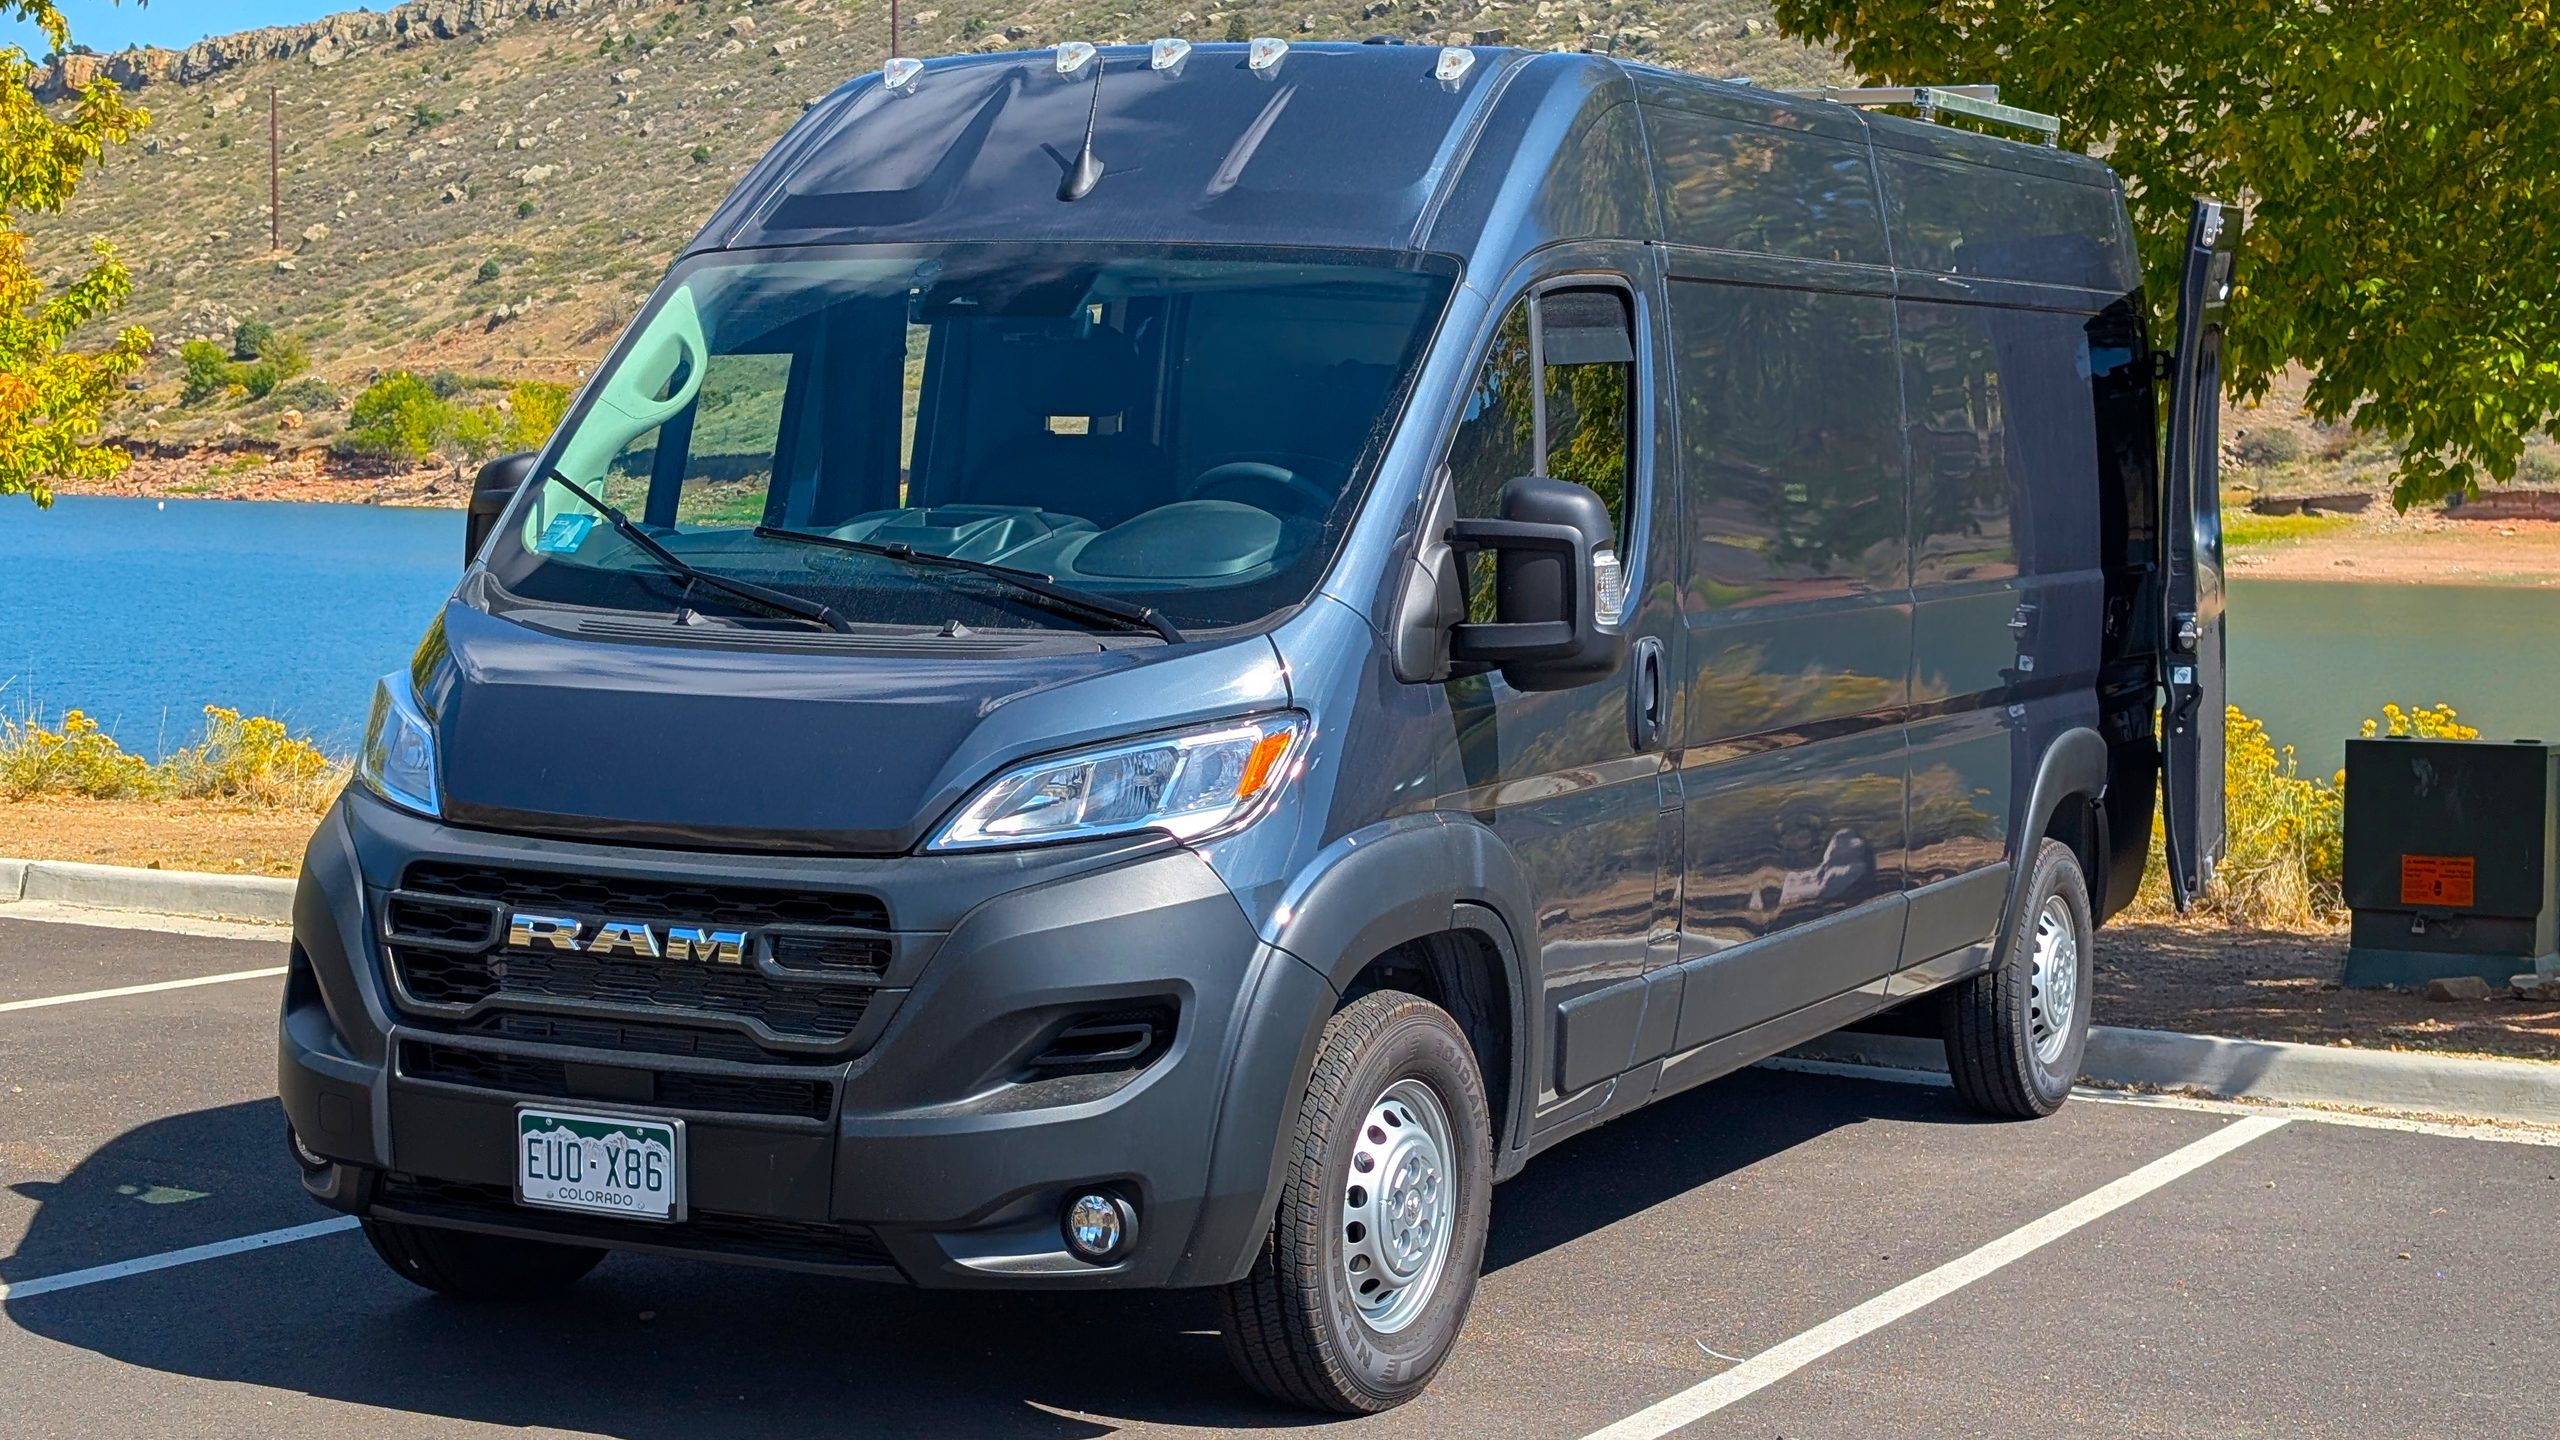
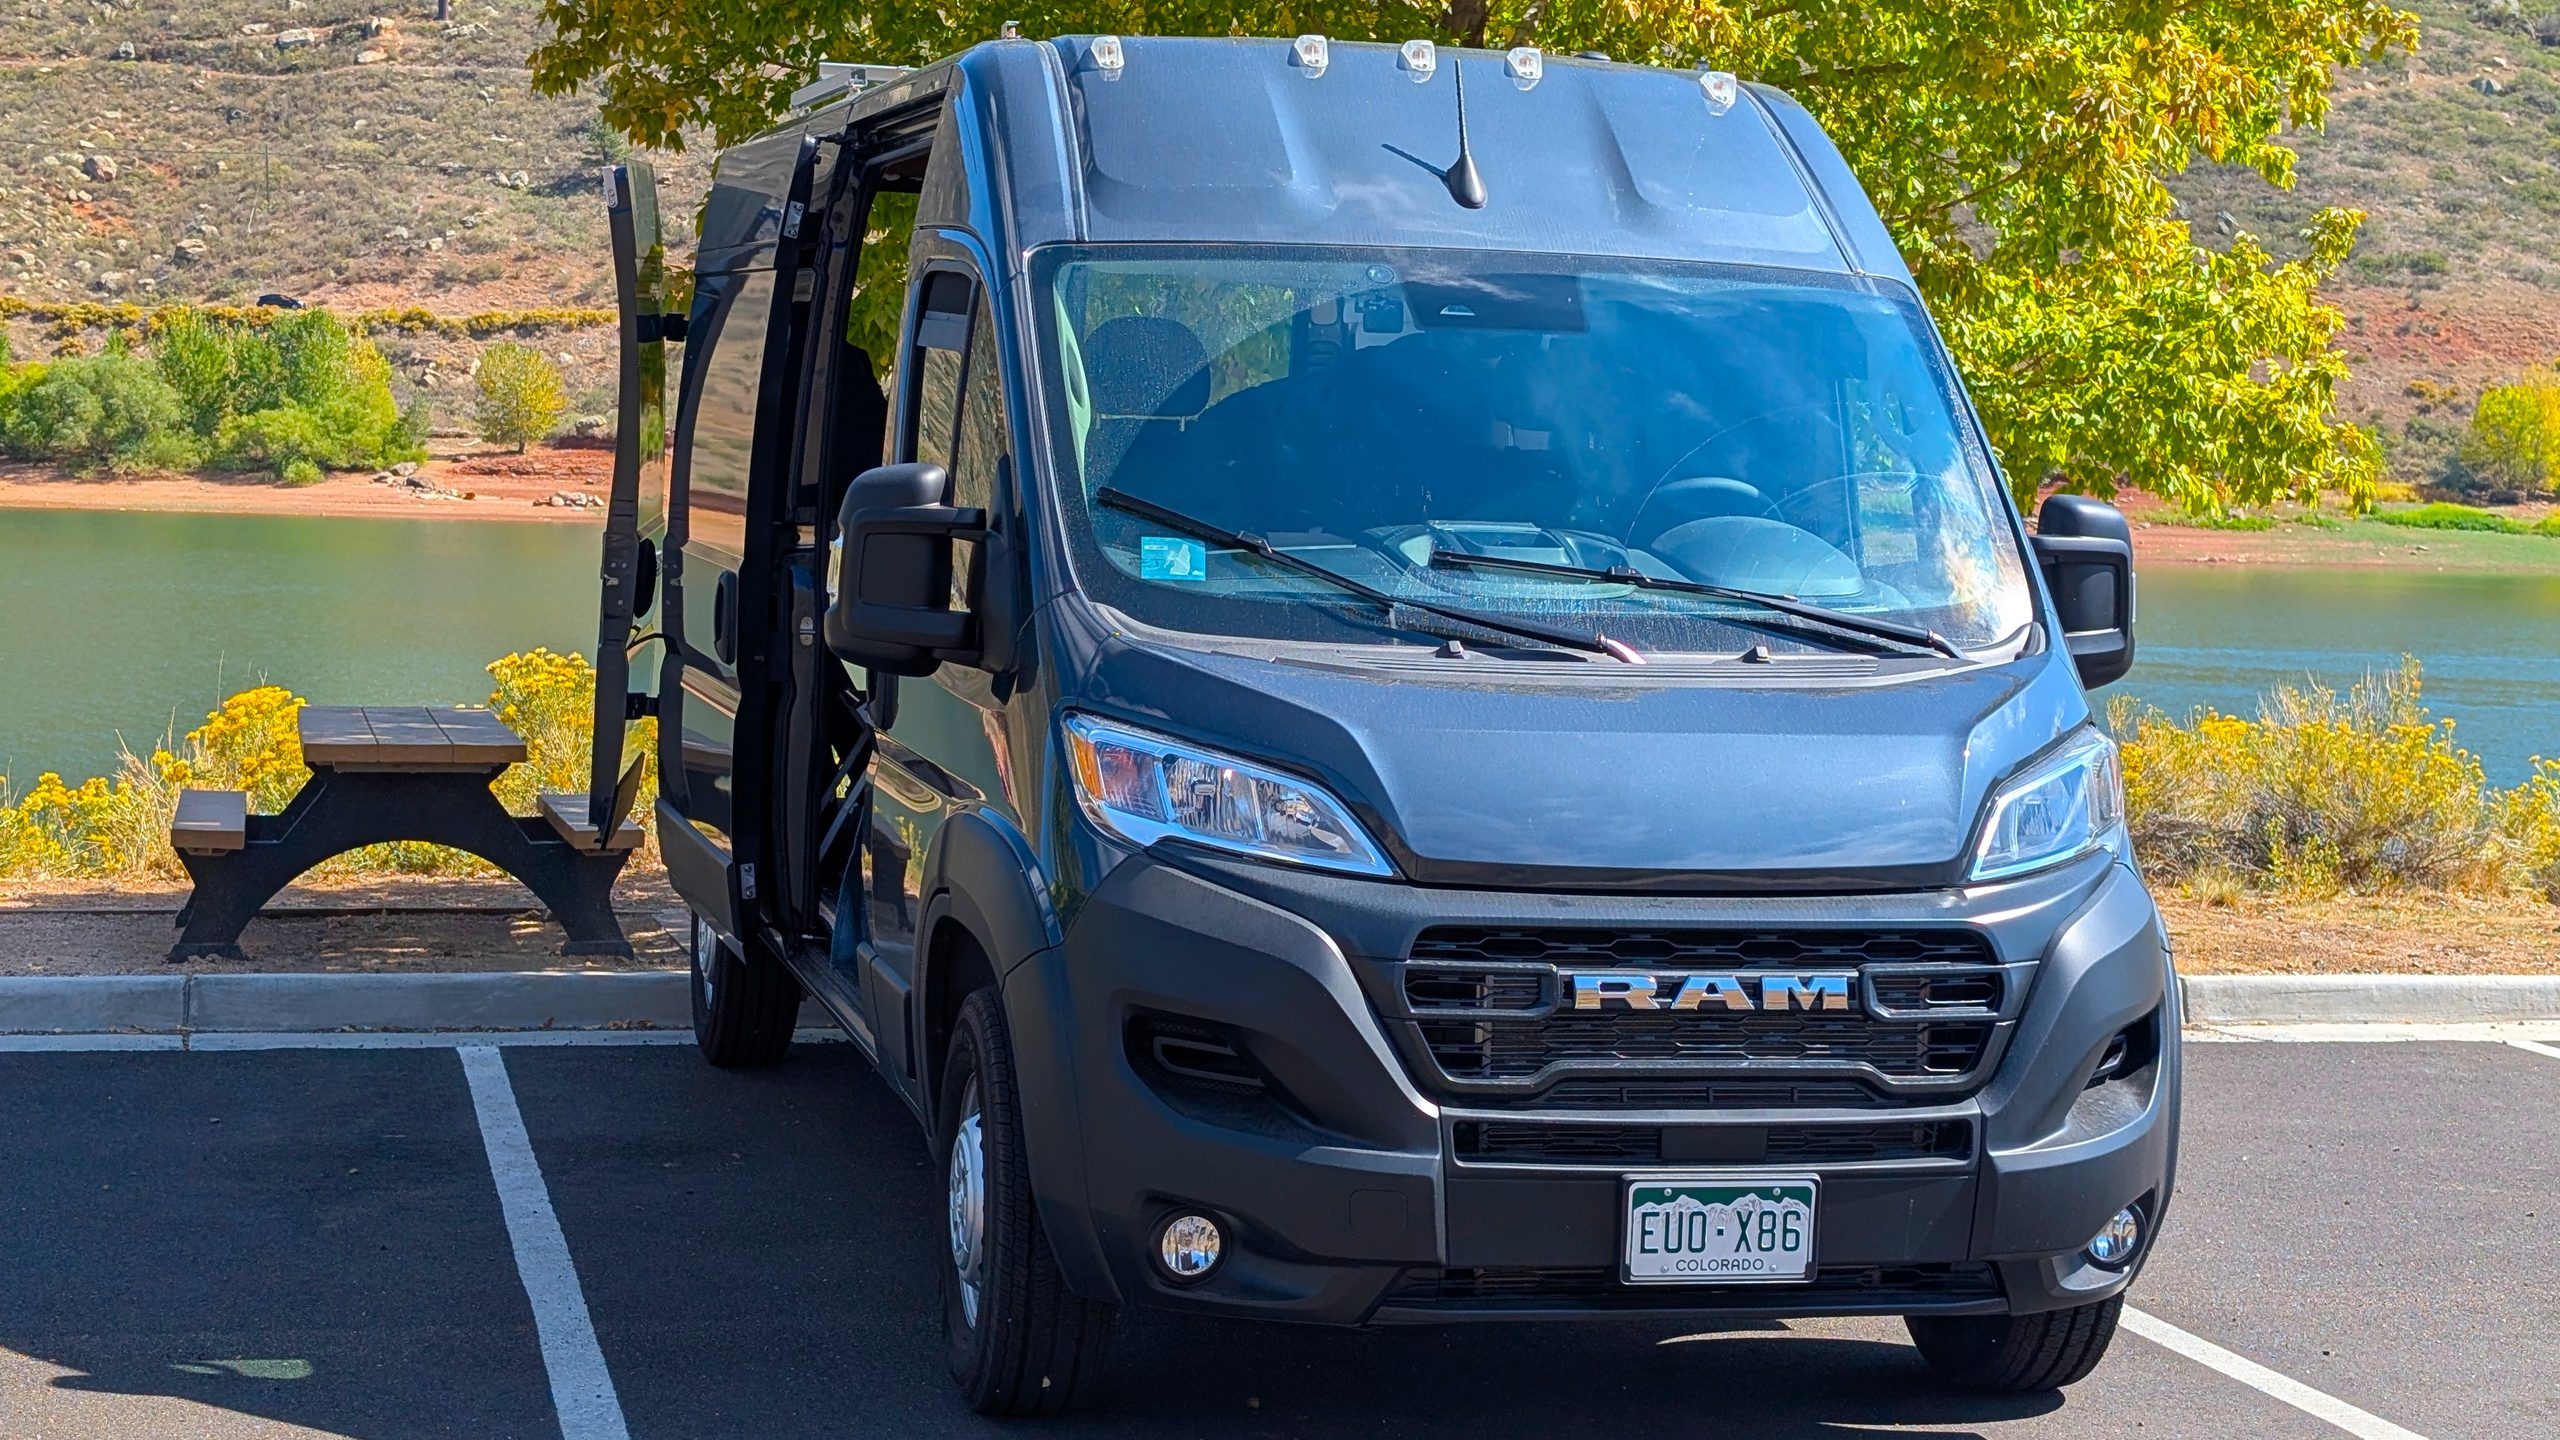
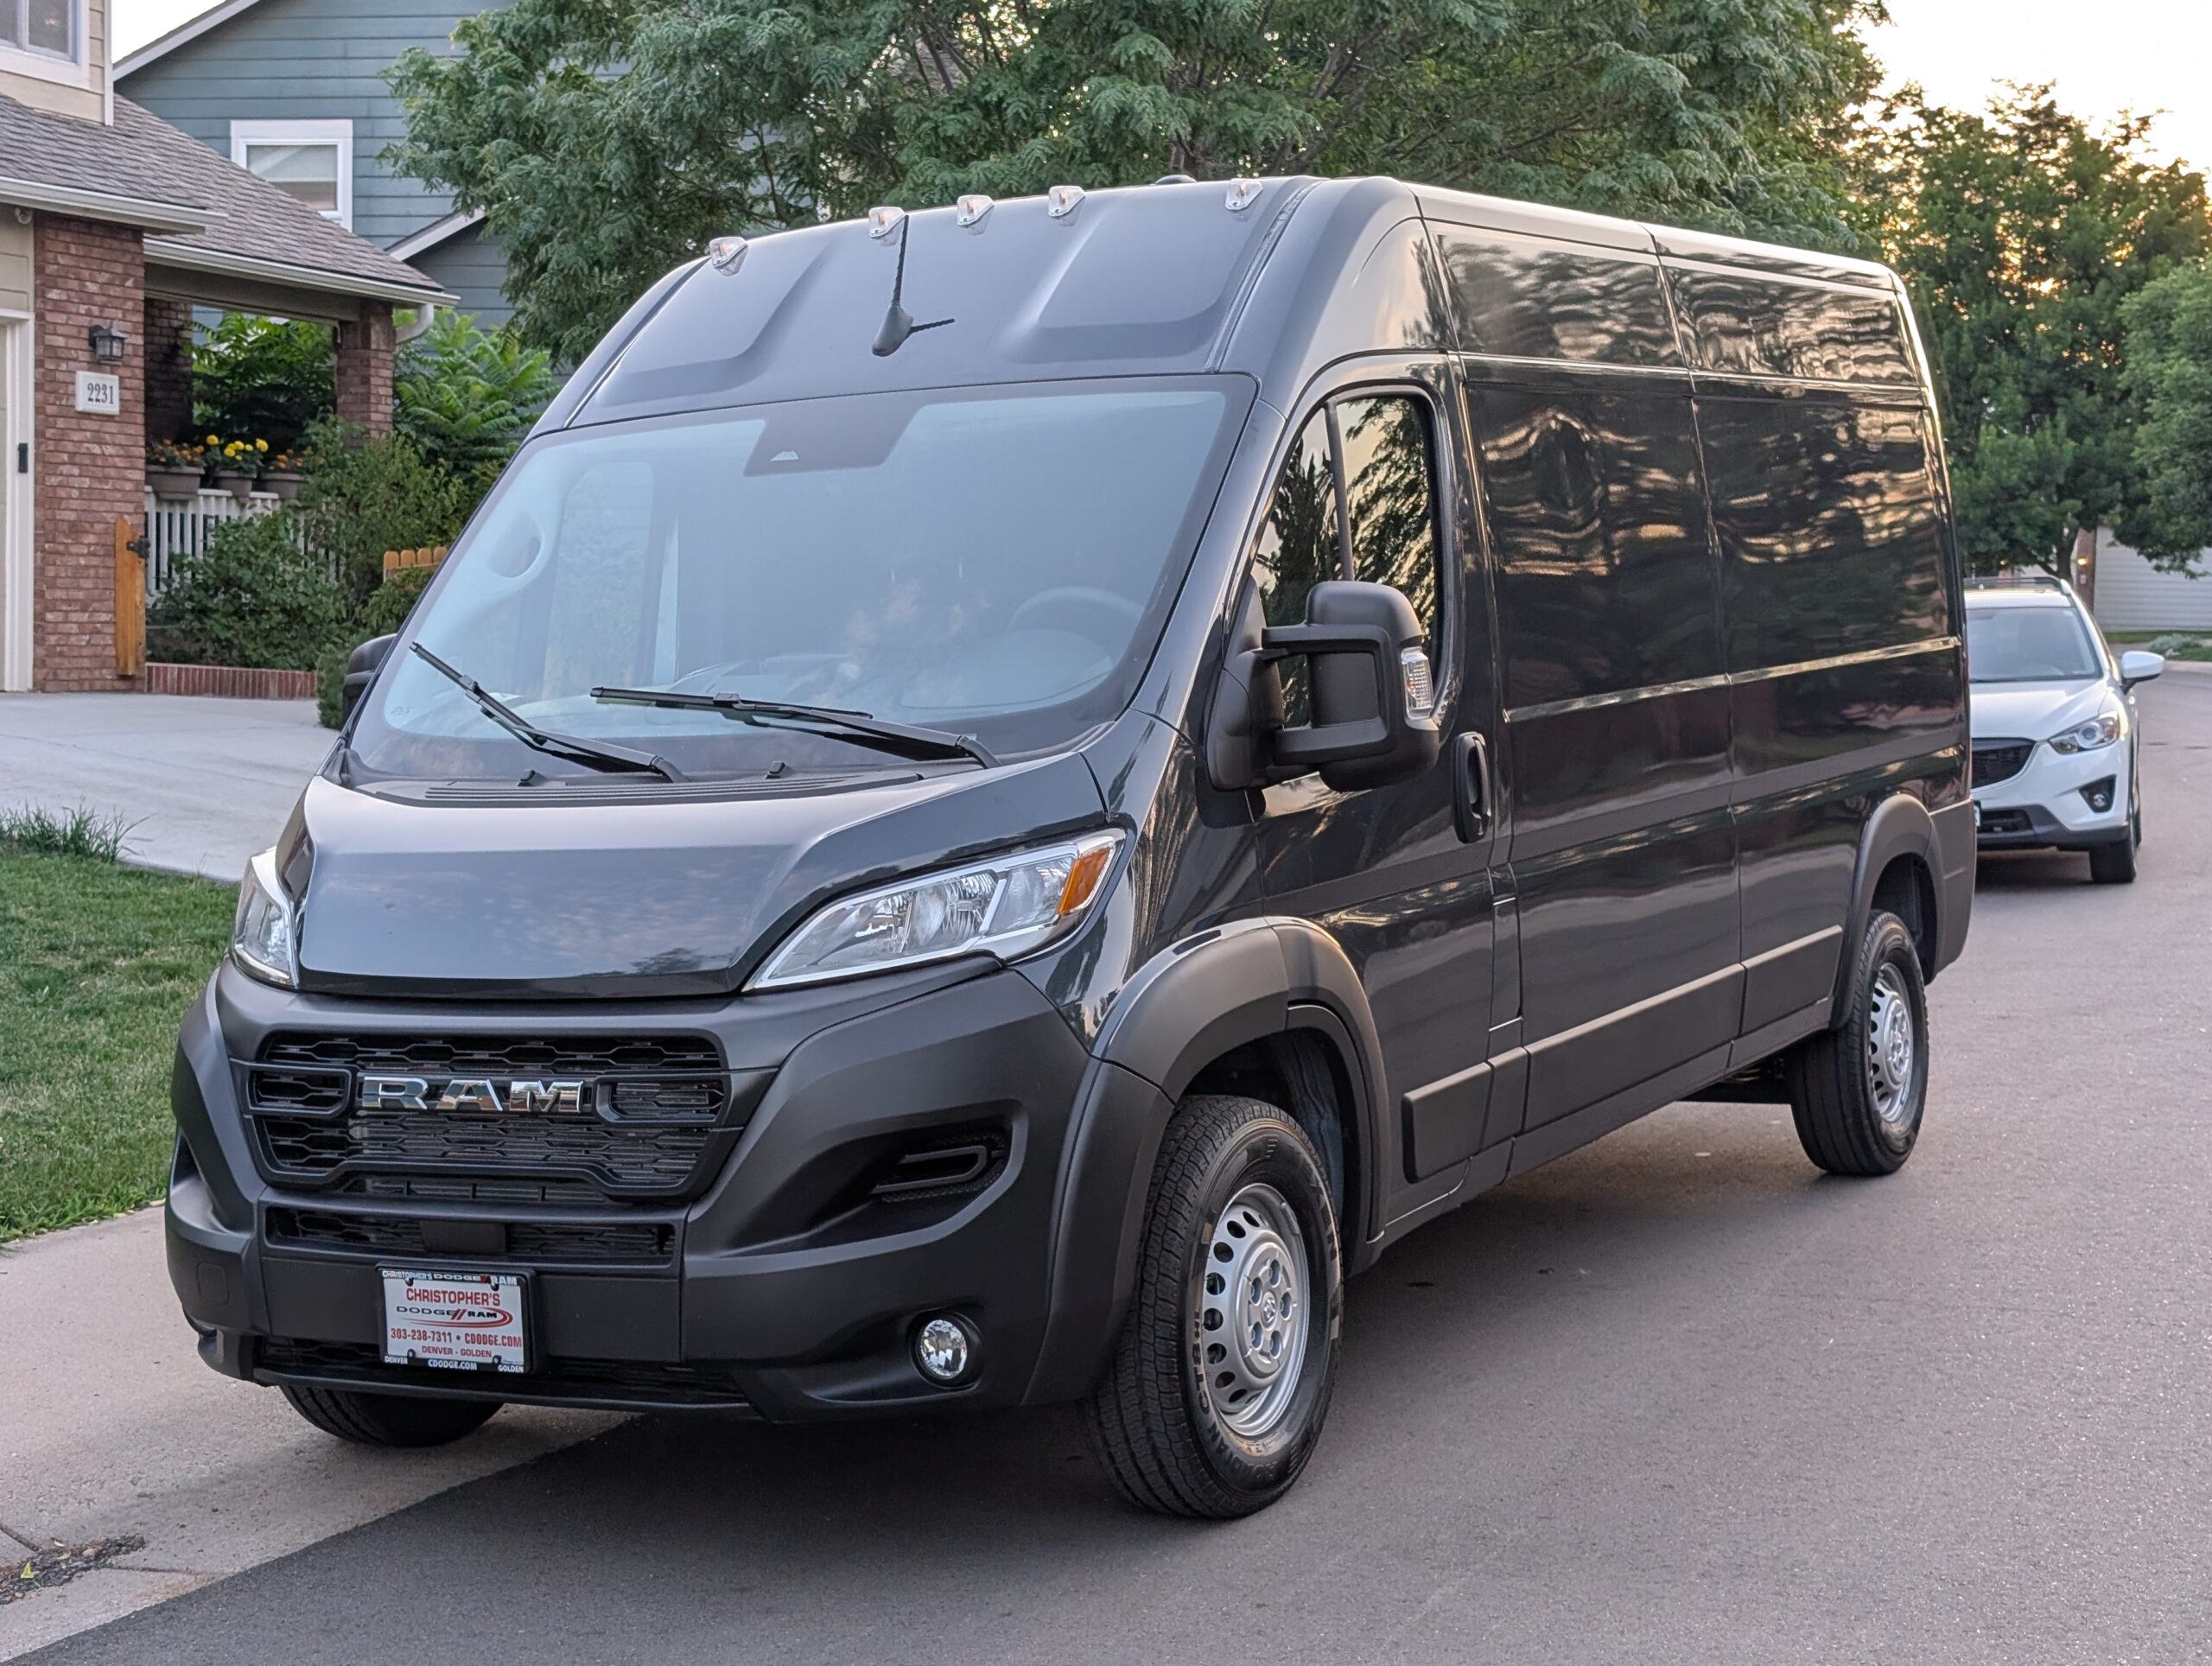
The van is a 2026 Ram ProMaster 3500 High Roof with the 159-inch wheelbase, non-extended version.
When I bought it, I was thinking several years ahead. My son graduates from high school in the spring of 2029, and I expect the 2030s will give me more opportunities to spend time traveling and exploring the country. The idea was to buy the van well ahead of that point and gradually turn it into something I could use for extended road trips.
However, I’ve made considerably more progress than I expected this early, and instead of waiting several years to really use it, I’d like to start using it as soon as practical. It doesn’t need to be “finished” for that to happen. Using it before it is finished is probably one of the better ways to figure out what the finished version should actually look like.
I work from home and currently have a somewhat flexible work situation, so I like the idea of occasionally taking the van somewhere interesting within driving distance and working from there for the day. It could also be useful for work trips when that makes sense.
For camping trips, it could be something my son and I use over the next few years. For longer road trips with my wife, the van may also turn out to be a good option. These uses should give me an opportunity to learn what works and what doesn’t before we eventually have more time to travel in it.
So the basic answer to “What are you going to do with the van?” is pretty simple:
Travel, explore, camp, work from interesting places occasionally, and eventually spend considerably more time seeing the country with it.
The more complicated question is what exactly I’m building inside it.
A Camper, but Not Necessarily an RV
When I started this project, I was fairly determined to retain as much cargo-van functionality as possible. I wanted a camper that I could take apart relatively easily and turn back into a useful cargo van.
That idea hasn’t disappeared, but my priorities have shifted.
Ultimately, I bought the van primarily because I want a camper. It can still haul things, and I don’t intend to make it unnecessarily difficult to take things apart, but preserving maximum cargo capacity is no longer a major design decision.
That doesn’t mean I’m trying to build a conventional RV, either.
I’m approaching this incrementally and somewhat iteratively. I’ll build something, use it, see how it works, and continue from there. I’d rather have a simple system that I understand and can repair than something more elaborate.
I also still use what I think of as a reversible-build philosophy, although I should probably explain what I mean by that.
I’m not trying to make the van conveniently modular so I can change its configuration every weekend. I don’t expect to routinely remove the bed or rearrange the interior.
What I mean by reversible is that, where reasonable, I want to be able to gracefully disassemble something I built without destroying the van or the thing I built. Screws and bolts generally appeal to me more than permanently gluing everything together. If I decide three years from now that a cabinet belongs somewhere else, I’d rather unscrew it than use a Sawzall.
Obviously there are limits. I’ve drilled holes. I cut a large hole in the roof for a fan. I’ve used structural adhesive where it made sense. A useful camper can’t be built without making some permanent decisions.
The goal isn’t theoretical reversibility at all costs. It’s simply avoiding destructive construction when there isn’t a good reason for it.
So far, I’m pretty happy with the balance. Even if I eventually change things, I think most of what I’ve built will have provided enough useful service to justify building it in the first place.
The Floor
The current floor stack, from bottom to top, is:
factory ribbed steel floor → 1/2-inch Owens Corning FOAMULAR NGX XPS → 19/32-inch Roseburg ACX plywood → BedRug
The XPS and plywood are not glued down. That was intentional. The pieces fit tightly, the finished assembly behaves well, and I didn’t see a compelling reason to permanently bond everything just because I could.
I also removed the factory D-ring cargo tie-down loops but preserved their threaded attachment locations with bolts below the foam level. Those factory mounting points may be useful again.
The BedRug has made the unfinished interior considerably nicer to work in while the rest of the construction continues. I also added a nicer 5×5 rug between the bed and front seats.
The Bed Is Basically Done
The bed has progressed considerably since I first started experimenting with the design.
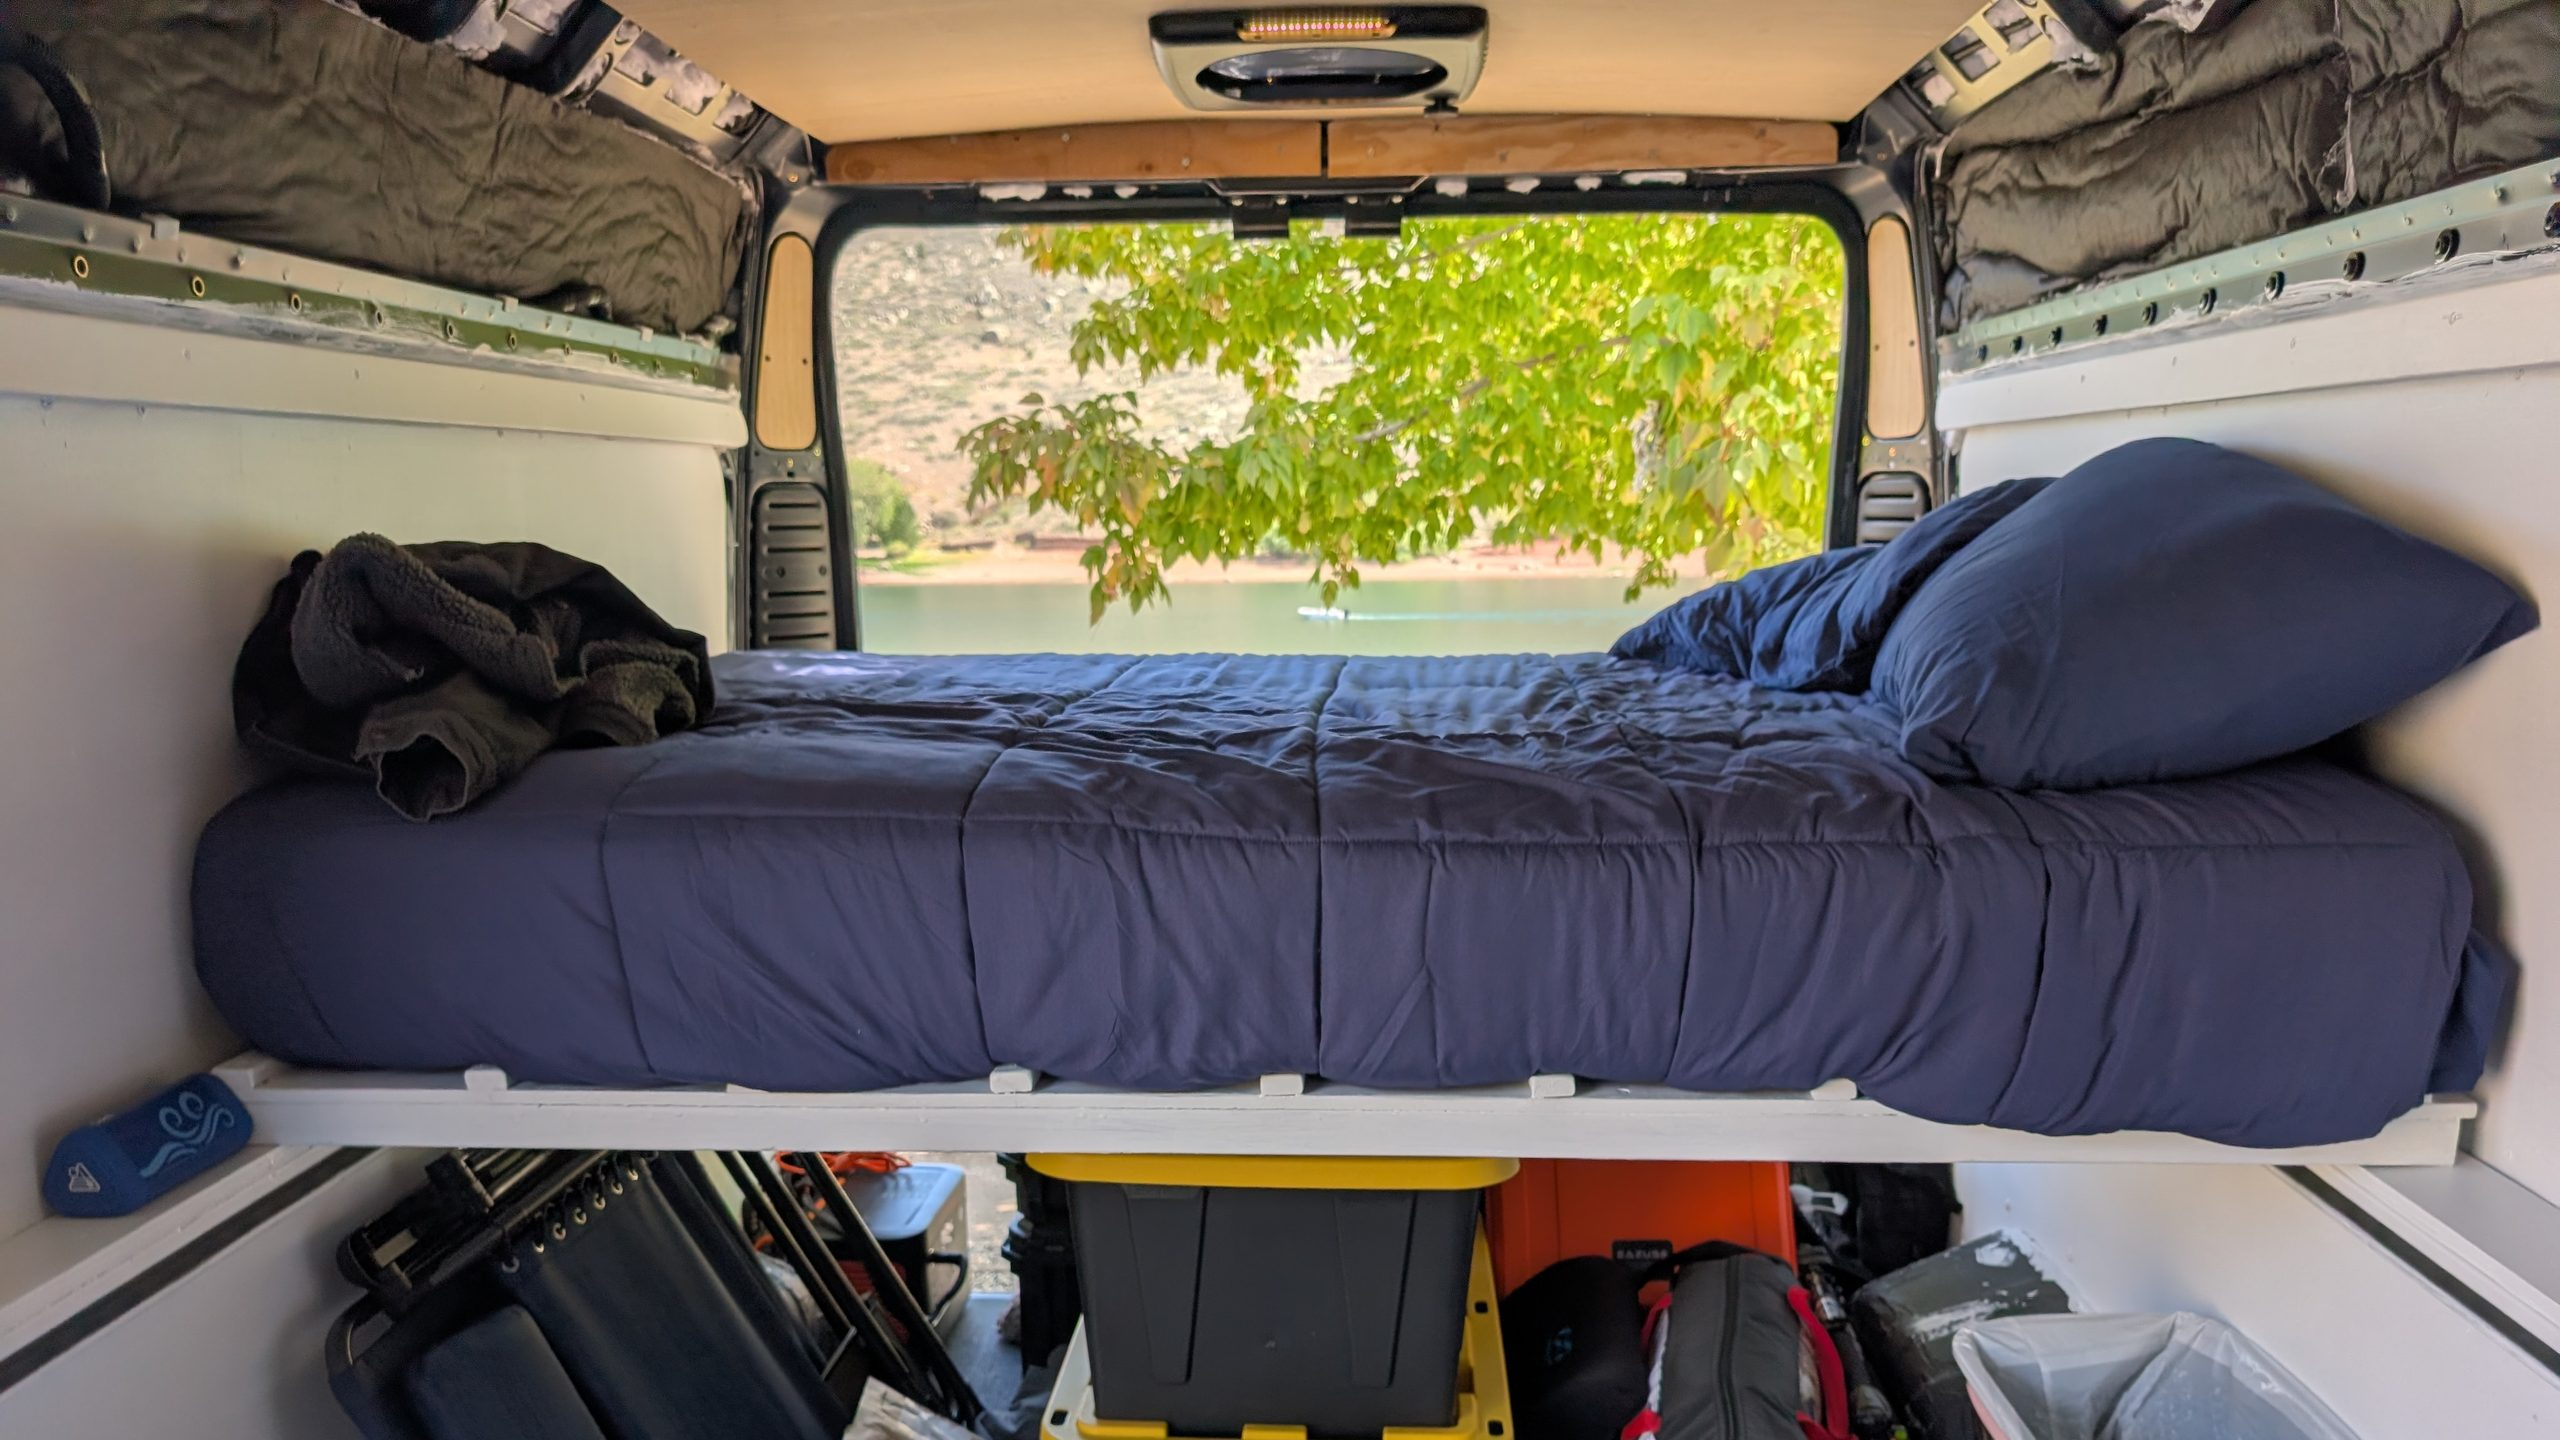
It’s an east-west bed across the width of the van. Preserving enough width to sleep comfortably in that direction was one of the places where saving inches—and sometimes fractions of inches—really did matter.
The platform is approximately 55 inches front-to-back and about 35.5 inches above the floor.
I built it as two sections. Each section consists of two lengths of 1-5/8-inch, 12-gauge Unistrut spanning the width of the van with a 15/32-inch plywood deck. Both sections are now constructed, painted, installed and fixed to the van.
The platform spans small shelves I built along each side of the van. At the ends of the plywood bed sections, between the Unistrut rails, I installed 2x4s. Cabinet screws come up from underneath the side shelves and into those 2x4s.
The result is extremely solid.
I also bought the actual mattress: an 8-inch Mira Firm Full Mattress from American Furniture Warehouse. It’s a traditional coil-spring mattress rather than memory foam, and it fits the platform perfectly. I added a mattress protector, sheets, blanket, comforter and pillows.
I also designed the bed for mattress ventilation. I installed 1×2 rails on top of the plywood platform and drilled 32 2-inch ventilation holes through the plywood. Between the ventilation holes, the air gap created by the rails, the more breathable construction of a conventional coil mattress, and the open garage space underneath, I think there should be plenty of airflow to mitigate moisture accumulation and mold concerns underneath the mattress.
At this point, the bed is effectively finished.
The Roof Fan
I installed an AirPlus Deluxe fan using a contoured ProMaster roof adapter from DIYvan and a custom-built interior plywood backing frame.
That installation involved cutting the 14-by-14-inch opening in the roof, deburring it, treating the exposed steel with Weicon brushable zinc coating, bonding the backing frame and exterior adapter with Sikaflex 221, installing the fan over putty tape, and sealing the exterior with black Dicor.
Having actual powered ventilation has already made working inside the van considerably nicer.
The Ceiling Is Almost Finished
The main panels for the ceiling are essentially finished, but I’ll need to remove the panel toward the rear to do some additional electrical work and roof penetrations.
The construction is essentially:
roof steel → Thinsulate insulation → factory roof ribs → 15/32-inch plywood furring → 1/4-inch plywood finish panels
The furring and insulation are installed, and the finished plywood ceiling is now up.
I intentionally left the insulation out at the rear panel until I’m ready to run wires through the roof for solar and Starlink. That means I can remove that panel, do the remaining work, add the insulation and put it back without tearing apart something I just finished.
Lighting
I ordered four 12-volt dimmable ceiling lights and have installed all of them—three on the ceiling and one under the bed for the garage area.
Most of the time I’ll probably run one light, often dimmed. But when I’m working on something, cleaning, looking for something, or simply want a lot of light, I can illuminate the whole interior very brightly.
The garage light should also become considerably more useful once I start organizing and enclosing that space.
Electrical: Temporary Now, Bigger System Later
For the moment, I’m using a Jackery Explorer 1000 v2, a 1,070 Wh LiFePO4 portable power station. I also have a portable 200-watt solar panel that I can use if/when needed. Otherwise, the power station just charges when the van is running.
I’m using the Jackery to operate the van’s temporary 12-volt electrical system. Its automotive-style 12V outlet is limited to approximately 10 amps/120 watts, so that limitation has to be kept in mind when I’m adding loads.
The basic temporary arrangement is:
Jackery 12V output → inline fuse → Blue Sea fuse panel → individually fused circuits
It’s enough for the fan, lighting and most other modest loads while I’m building.
Eventually I expect to install a proper permanent LiFePO4 house electrical system. I haven’t decided whether that will ultimately be 12 or 24 volts. The van has a 220A alternator, and I’ve been looking at the Victron Orion XS 1400 as the basis for eventual alternator charging.
I also expect to install fixed solar eventually, probably something in the neighborhood of a 700-watt-class system, although that’s another area where I haven’t selected the actual panels or final electrical architecture yet.
I’m also considering a simple exterior shore-power connection so I can conveniently run an extension cord to the van when it’s parked at home. Initially that could simply provide AC power for charging the Jackery. Later, the same interface could support a dedicated charger for the permanent house battery system.
Starlink and Roof Wiring
I plan to mount my Starlink Mini on the roof, with power run through the roof.
For power, my current concept is essentially:
fuse panel → 12 AWG interior wiring → weatherproof roof pass-through → short replaceable Starlink-specific waterproof power pigtail → Starlink Mini
If Wi-Fi has trouble penetrating the van, I can also run Cat5e to an interior network device. I’ve made Ethernet cables before and already have the crimping tools and connectors, so running cable while everything is accessible is easy enough.
The roof penetration will probably use an ABS cable-gland housing. I’m still working out the details on this.
Preparing for Solar Before I Close the Ceiling
I will probably install roof pass-throughs for future solar power cables very soon.
I don’t know which solar panels I’m buying yet. I don’t know whether the final panel arrangement will be series, parallel or series-parallel. I haven’t selected the MPPT controller. But I do know that getting wiring from the roof to the future electrical area will become considerably more annoying once I finish closing everything up. So I’m planning to install two independent 12 AWG positive/negative runs now—four conductors total. That preserves options later without requiring me to decide the solar-panel configuration now.
For wiring actually exposed on the roof, I have 12 AWG photovoltaic wire intended to tolerate sunlight, moisture and the temperature/environmental conditions associated with rooftop solar installations.
The objective isn’t to design the solar system now. It’s to do the inexpensive, easy work now that preserves options later.
The Walls
The rear wall sections on either side of the bed are structurally complete and primed. They’re functional, but I haven’t decided how I ultimately want to finish them cosmetically.
There is still structural work, wiring and other construction happening in the van. It doesn’t make sense to worry about decorative finishes now and then damage them while installing everything else. I may also eventually want a more uniform finish throughout the interior, so I’m comfortable leaving those sections primed for a while.
Those rear bed-area walls were somewhat unusual because maximizing the east-west sleeping dimension was important. I intentionally used a thinner construction approach there.
For the remaining walls, I don’t care nearly as much about saving every millimeter. I’ll probably use a more traditional furring + insulation + paneling approach. That will be easier to construct, provide more space for insulation and wiring, and give me better attachment opportunities for whatever eventually gets mounted to the walls.
The Galley
The galley is still one of the areas I’m actively figuring out. I now have a 15-by-15-inch stainless-steel sink and a Whale Flipper manual galley pump on order, along with several 5-gallon containers that I can use for fresh and gray water.
I’m keeping the water system simple. The fresh-water container will feed the hand pump, and the sink will drain into a removable gray-water container. That avoids needing an electric pump, pressure system or permanent tanks while I figure out how much water I actually use.
I’m still struggling a little with the cabinet itself. I’ve been looking at bathroom vanity bases from the big home-improvement stores as well as used cabinets on Facebook Marketplace.
Something around 48–54 inches wide, 20–22 inches deep and roughly 36 inches high when finished still seems about right.
One vanity I’ve considered is approximately 48 inches wide, 18.75 inches deep and 34.25 inches high, which is attractive because the relatively shallow depth would preserve aisle space. With a countertop it would also end up very close to the height I want.
On the other hand, I may ultimately build something myself. That would let me control the dimensions rather than designing the rest of the van around a cabinet that happens to be available.
For now, I’m waiting until the sink, pump and water containers arrive before committing to anything. Having the actual components in front of me should make it easier to mock everything up.
Closing In the Garage
I’m also considering making the garage area under the bed one of my next projects. The bed leaves a large open storage area underneath it. That has been useful while building the van, but I think I’m getting to the point where enclosing the front of that space would improve safety, appearance and functionality.
My current thought is something fairly simple rather than elaborate cabinetry. I could close off the garage from the living area while leaving an access door in the front. Smaller equipment could initially be organized in removable bins.
That would give me a cleaner separation between the living space and whatever eventually gets stored in the garage without forcing me to decide on the final storage system yet.
TV and the Area at the Foot of the Bed
I have a 24-inch Roku TV on order. My plan is to mount it near the foot of the bed on the passenger/curb side. I also bought a simple flat TV wall mount, but I haven’t decided exactly what the surrounding structure will look like.
The bed structure is extremely solid, so rather than treating the thin wall paneling as something structural, I’m considering building a framework upward from the side of the bed platform toward the ceiling, with additional attachment or bracing to the side structure of the van.
That could give me solid mounting points for more than just the TV. I could potentially build some shallow shelving or cabinet space around it, probably with raised edges on open shelves so things don’t immediately slide off while driving.
I don’t want to design too much of that until the TV actually arrives. Once I have it, I can hold it in different positions and get a better idea of viewing height, clearances and how much surrounding storage makes sense.
This is also making me think about electrical infrastructure in that area. If I’m running AC power from the eventual electrical/distribution area in the garage to the TV, this may be a good opportunity to provide USB charging near the bed for phones and other small devices.
Again, I’m trying to establish useful infrastructure without deciding now exactly what every cabinet and shelf will ultimately look like.
Which End of the Bed Is the Head?
Something else I’ve started thinking about is which direction I normally want to sleep. My current preference is head toward the driver/street side and feet toward the passenger/curb side.
The reasoning is mundane: streets are generally crowned so water drains toward the curb. When the van is parked along a street, that should often leave the driver side slightly higher than the passenger side. If I have to sleep somewhat off-level, I’d rather have my head slightly uphill than downhill.
That obviously won’t apply everywhere, and campsites are a different situation entirely. I still plan to carry leveling blocks eventually, or perhaps just keep some appropriately sized pieces of wood in the van.
I also don’t imagine I’ll be sleeping in the van often while parked along a street, but I still thought it was an interesting consideration.
Having a normal sleeping orientation gives me a useful constraint when deciding where the TV and other bed-area equipment should go.
What About a Shower and Toilet?
This one is still in the “wait and see” category. I’ve spent some time thinking about a dedicated wet room containing a shower and removable toilet. I’ve looked at shower-pan dimensions, mocked up footprints and considered how much interior space I’d be willing to give up.I’m still on the fence.
For now, I think the smarter answer may be not to build one. I have a Planet Fitness membership, which gives me one shower option while traveling in many areas. Campgrounds and other facilities provide additional opportunities. Between those, I can use the galley sink for basic cleanup on nights when a shower isn’t conveniently available.
I’d rather try that for a while than devote a substantial chunk of limited van floor space to a shower.
If experience tells me a shower would materially improve the way I use the van, I can build one later.
Air Conditioning — Probably Not
I’ve gone through a similar thought process with air conditioning. A roof A/C would be nice sometimes. But “nice sometimes” isn’t enough justification for everything that comes with it.
A/C means buying and installing the unit, giving up roof space, adding weight, substantially increasing electrical demand, building enough battery/charging capacity to support it, maintaining it, and accepting another complicated system that can eventually fail.
When I looked at the van holistically and considered how I expect to use it, I came to the conclusion that the juice isn’t worth the squeeze. I already have a powered roof fan. I can deal with some heat, and more importantly, I can use trip planning to avoid the worst heat in the first place.
I’m not declaring that the van will never have air conditioning. I’m simply not designing around it right now. If I spend a summer traveling and decide I’ve made a mistake, I can revisit the question with actual experience instead of speculation.
Windows — Same General Idea
I’m also not planning to add additional windows right now. Windows obviously have advantages, but not having them has advantages too: privacy, insulation, security, fewer holes in the van, fewer opportunities for leaks, and more uninterrupted wall area for cabinetry and other equipment.
Again, nothing prevents me from changing my mind later. I’d rather discover through actual use that I genuinely want another window than cut a large irreversible hole in the van.
Things I’m Intentionally Not Deciding Yet
There are still plenty of unanswered questions. I haven’t finalized the permanent electrical architecture. I haven’t selected the fixed solar panels or MPPT. I haven’t finalized the galley. I haven’t decided where every cabinet will go. I haven’t committed to a shower. I’m leaning away from A/C and additional windows, but experience could change either decision.
That’s not a lack of planning. It’s an intentional part of the planning.
There’s also value in freezing interfaces without prematurely freezing components. If something will become difficult to add later—roof penetrations, wiring paths, structural mounting points—I’m trying to deal with that while access is easy. That doesn’t mean I need to select every component that will eventually connect to those interfaces. Sometimes deferring the decision is the plan.
Where Things Stand Now
As of September 2026, the van has progressed further than I expected when I bought it.
The insulated floor and BedRug are in. The roof fan is installed and working. The bed platform is finished, painted and securely mounted. The mattress and bedding are in. The rear bed-area wall structure is built and primed. The ceiling is insulated, furred and paneled. Four dimmable lights are installed and working, including one in the garage.
The immediate project is taking advantage of the remaining access through the removable rear ceiling panel before insulation is installed there. I need to finish the roof wiring and penetrations for Starlink and future solar while doing that work is still relatively easy.
After that, I’ll continue working my way through the walls, permanent electrical system, Starlink, solar preparation, galley, garage enclosure, TV/bed-area structure, a work desk and the rest of the interior.
I don’t have a completion date because I’m not interested in having one. The van is already useful, and I’d like to take more trips with it while the build continues.
So, Again: What Am I Doing With This Van?
I’m building a vehicle that I hope will eventually let me spend a lot more time exploring the country. I’m just doing it about three years early.
In the meantime, I can camp in it. I can take road trips with my wife. My son and I can use it for trips while he’s still at home. I can occasionally work from somewhere more interesting than my home office. I can learn what it’s actually like to live and travel out of the thing instead of trying to predict every need from my driveway.
And I get an interesting construction project out of it along the way.
I suspect the van I take on longer trips in the 2030s will look somewhat different from the van I’m building in 2026. That’s fine. In fact, that’s part of the plan.
I’m trying to build each stage well enough that it’s useful for however long I keep it, while avoiding unnecessary decisions that make the next stage harder.
Actually Using the Van
We also finally did something with the van that had essentially nothing to do with building it. My wife and I took it to Horsetooth Reservoir for a few hours and parked at a picnic area. I did a little work while she spent some time reading.
We recently bought a couple of the oversized reclining “zero-gravity” chairs from Sam’s Club. I’m planning to keep those in the garage and pull them outside when we want them. She used one for the first part of the afternoon and later moved to the bed.
With the rear doors open, the bed essentially became a place to lounge while looking directly out over the lake. She turned on the roof fan for some additional airflow, and the whole setup worked well.
It wasn’t a camping trip or a road trip. The reservoir is only about ten minutes from our house, and we were only there for a few hours. But I consider it the first real recreational test of the van.
That was useful because so much of my time with the van has consisted of cutting plywood, drilling holes, running wires or deciding what to build next.
This was the first time we simply went somewhere pleasant and used the van as a place to hang out.
And that may ultimately be as useful to the design process as anything I build in the driveway.
One thought on “ProMaster Camper Van Build — Current Configuration, Status, and Plans”
Comments are closed.