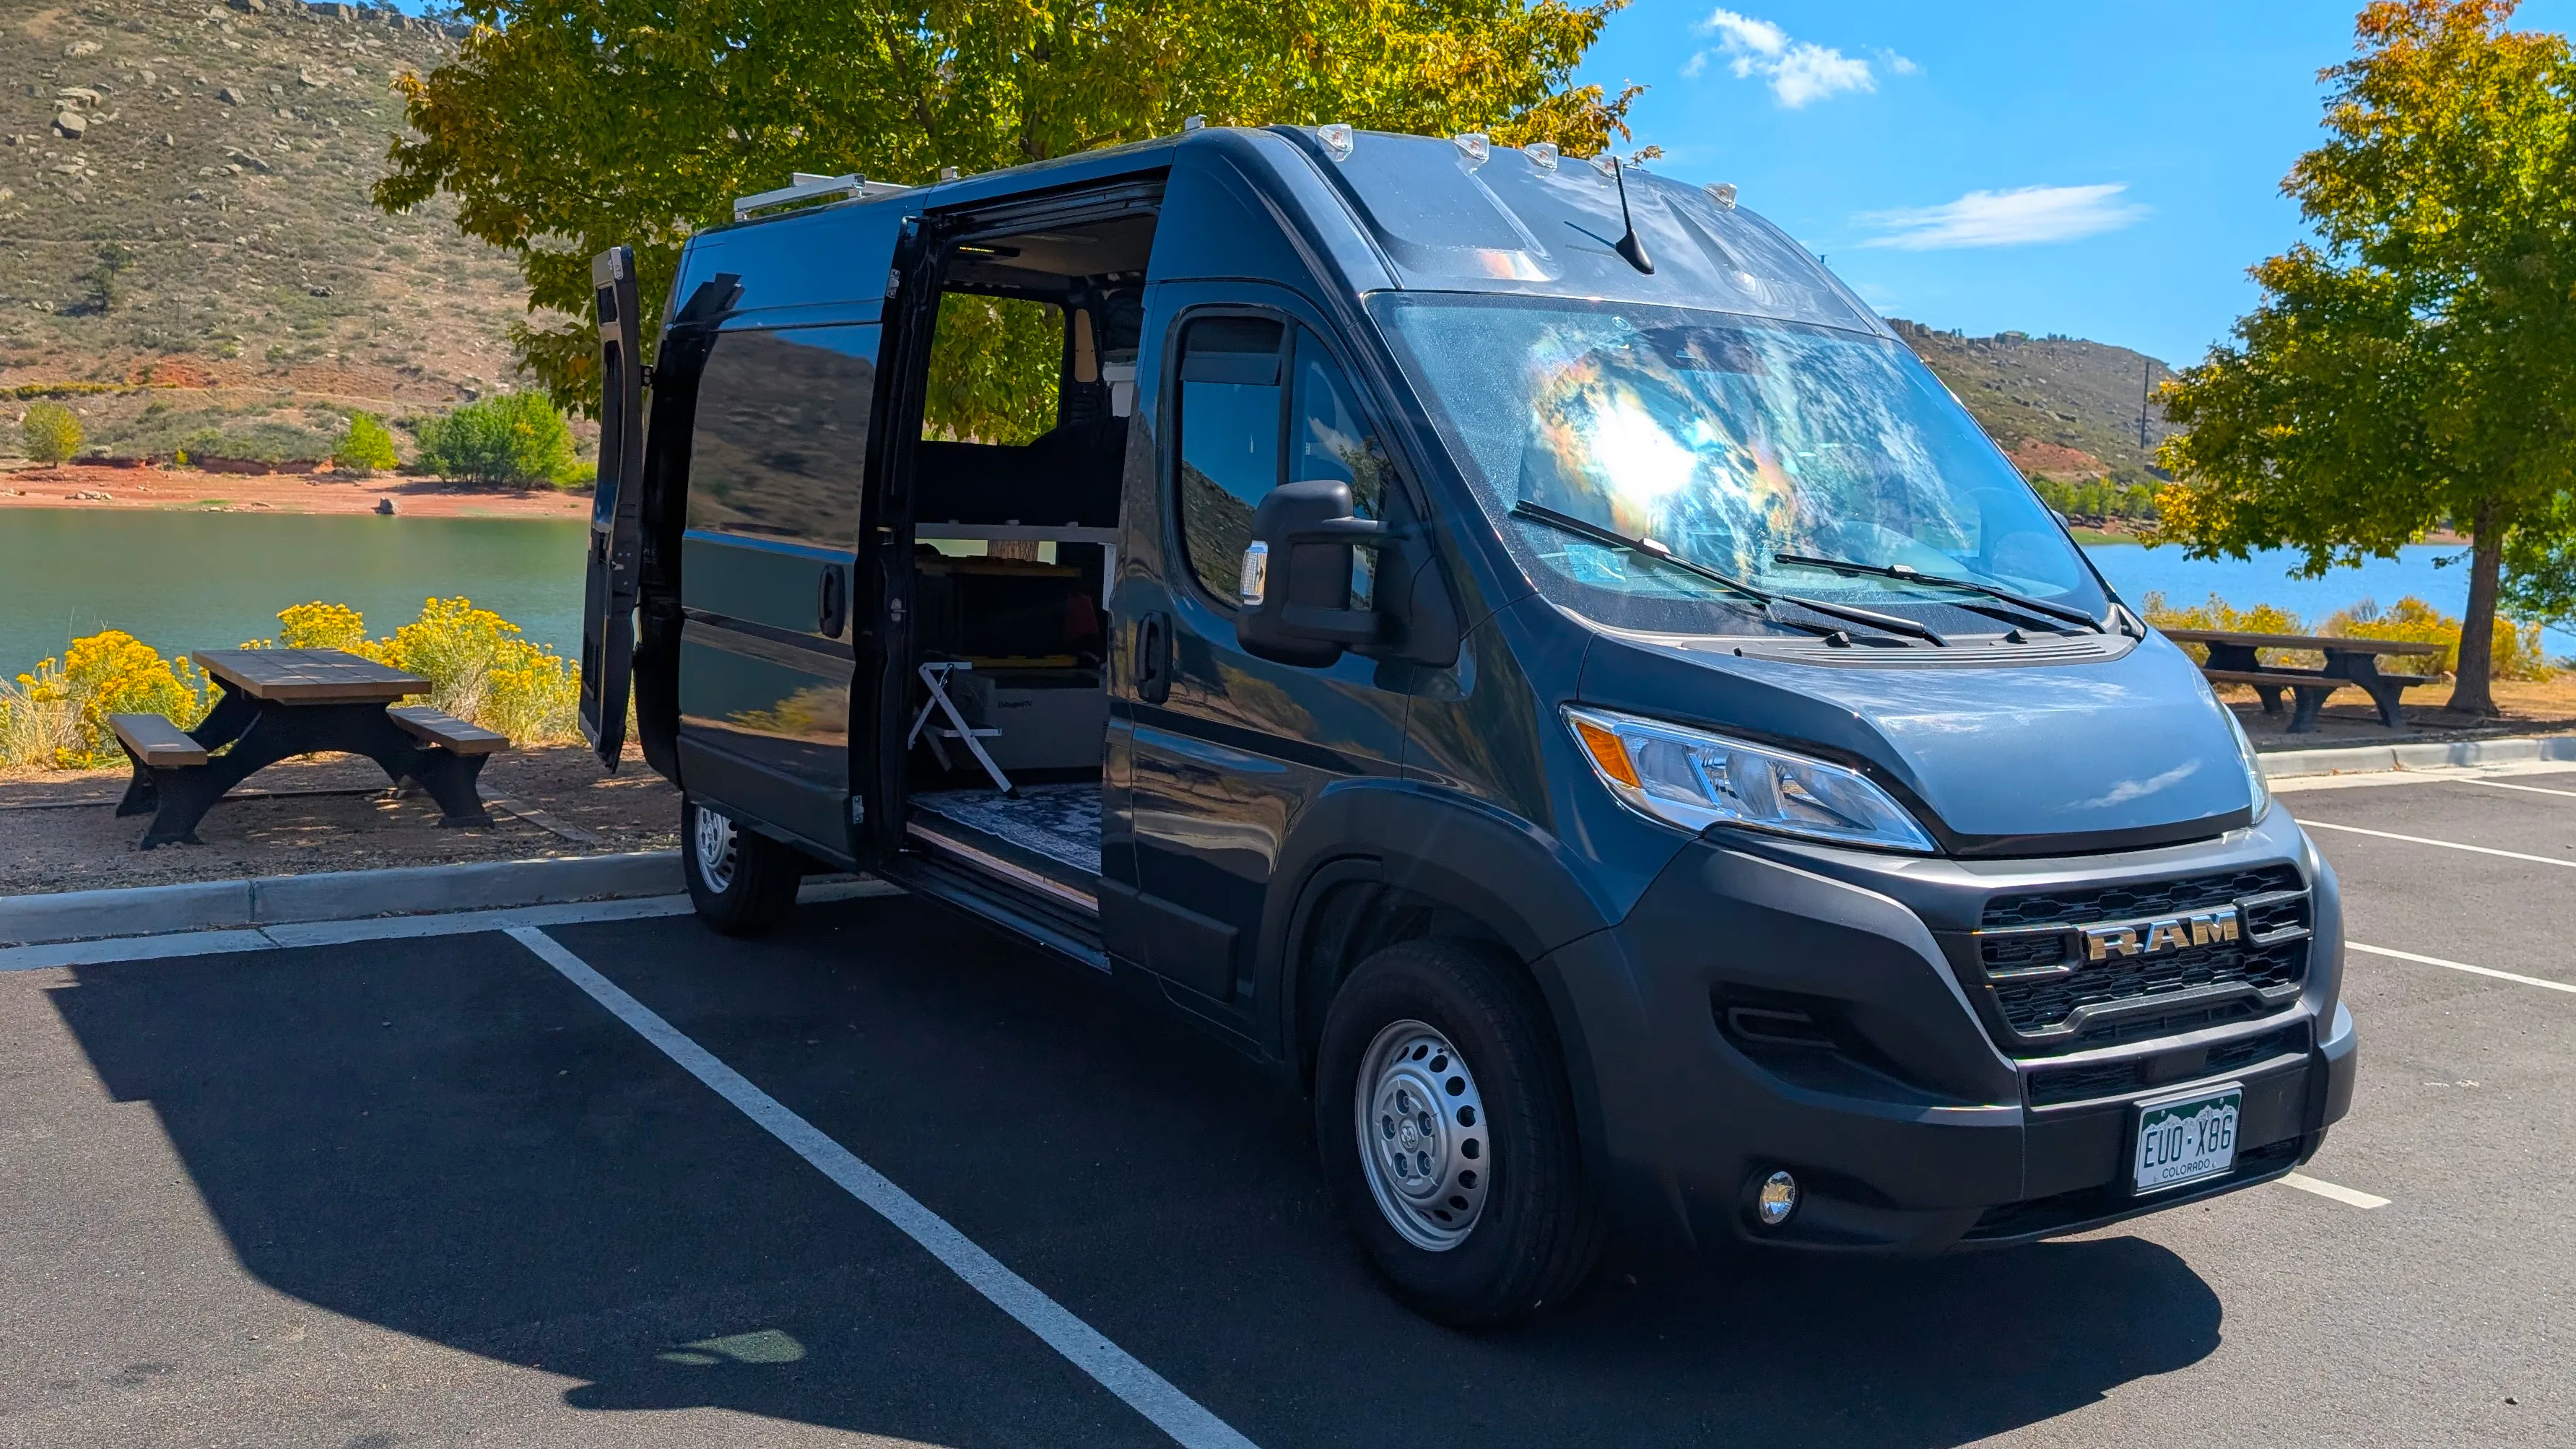
I recently bought a 2026 Ram 3500 ProMaster Cargo Van with the 159-inch wheelbase, high roof, and non-extended body. This van is the starting point for a practical, long-term project focused on personal travel, road trips, cargo flexibility, and general utility.
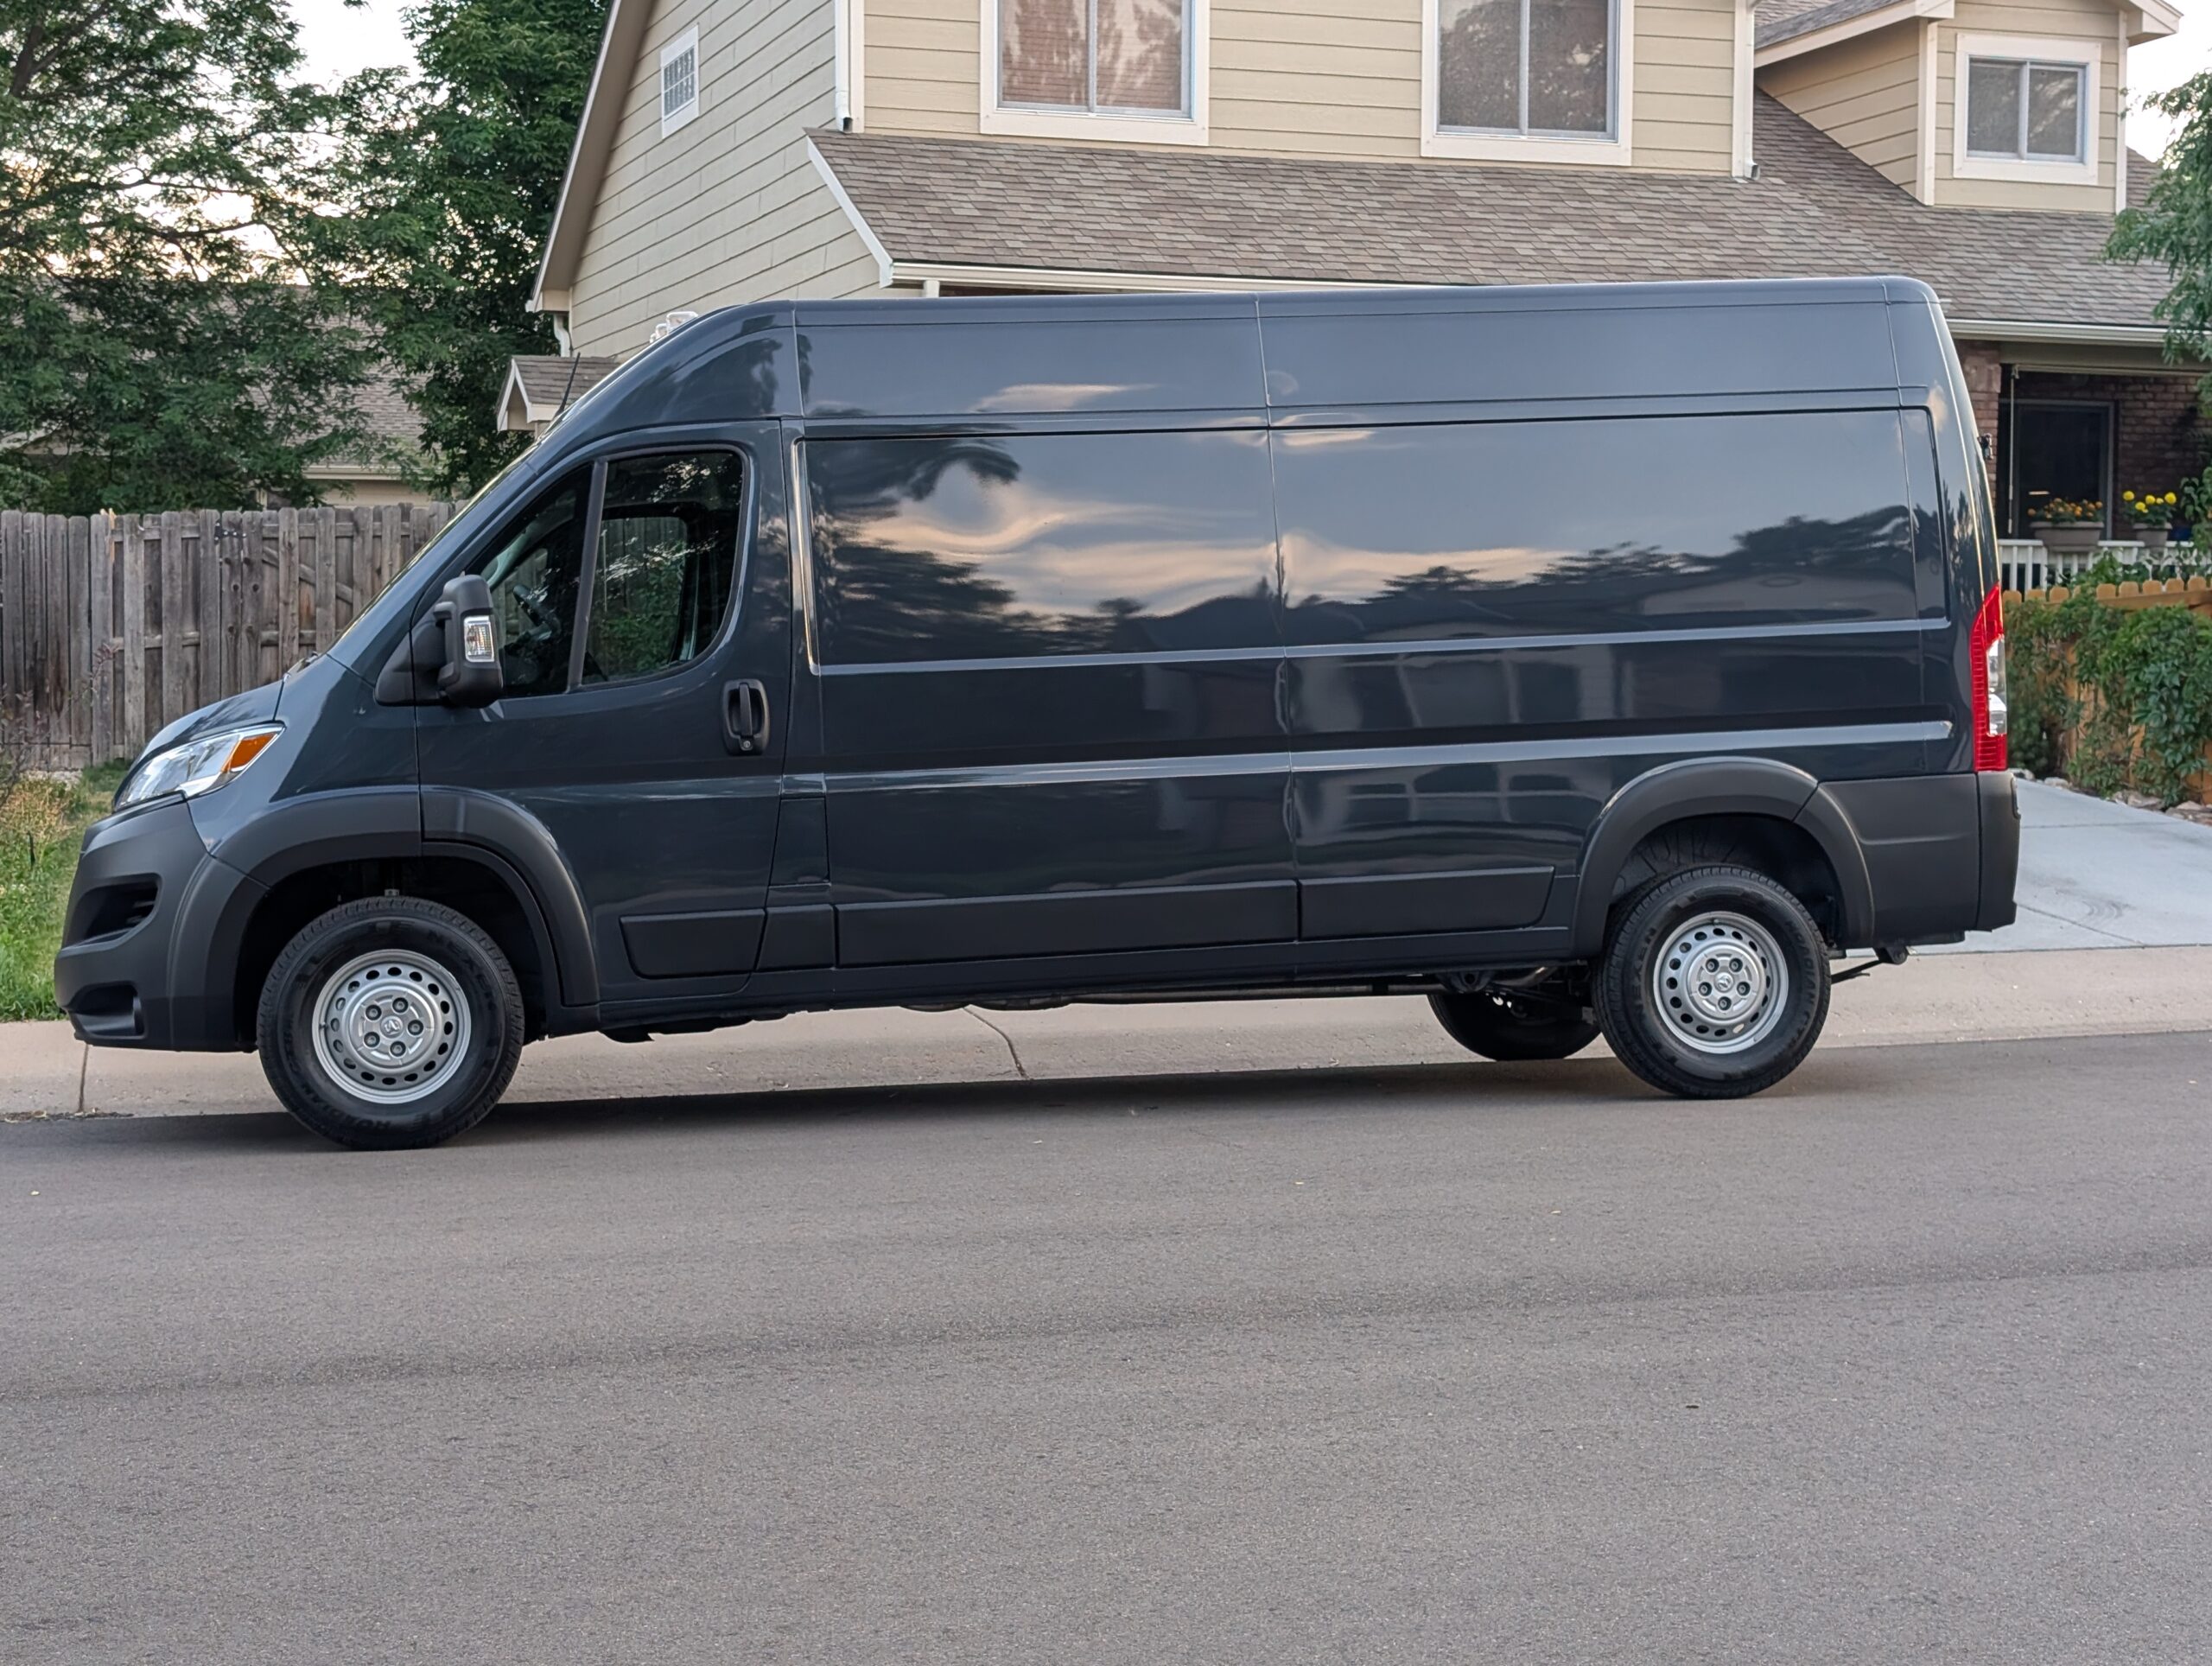
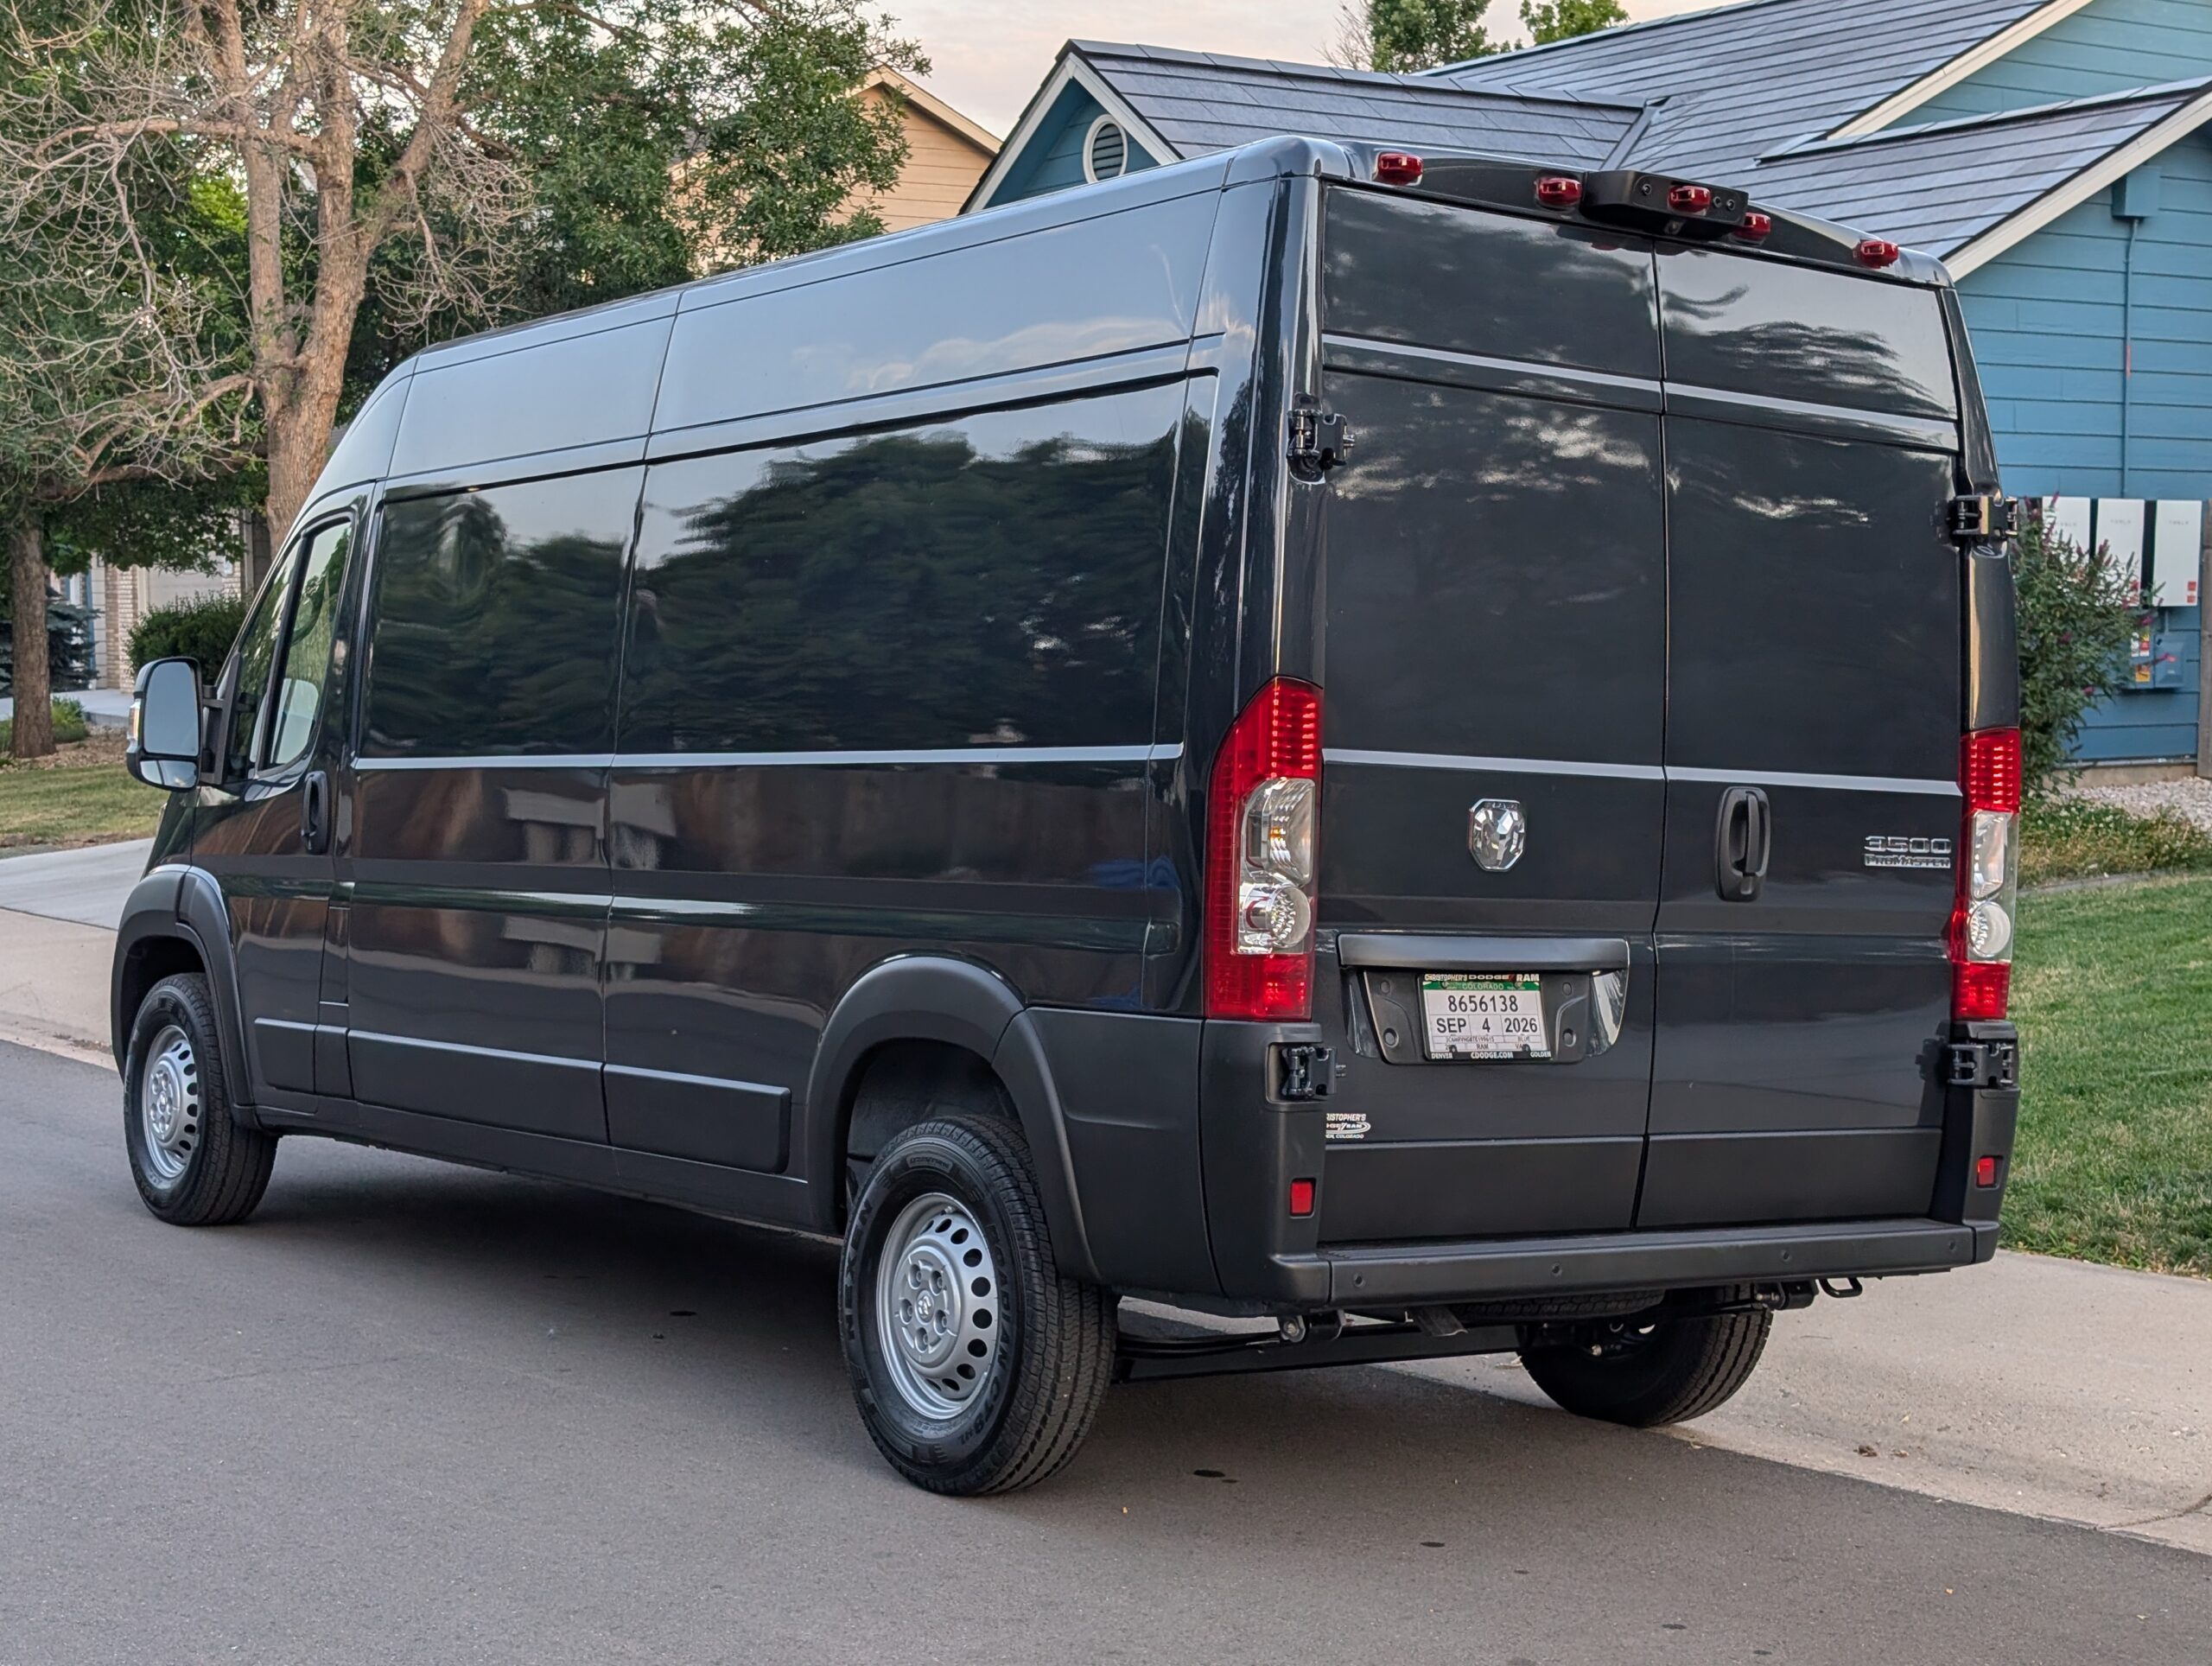
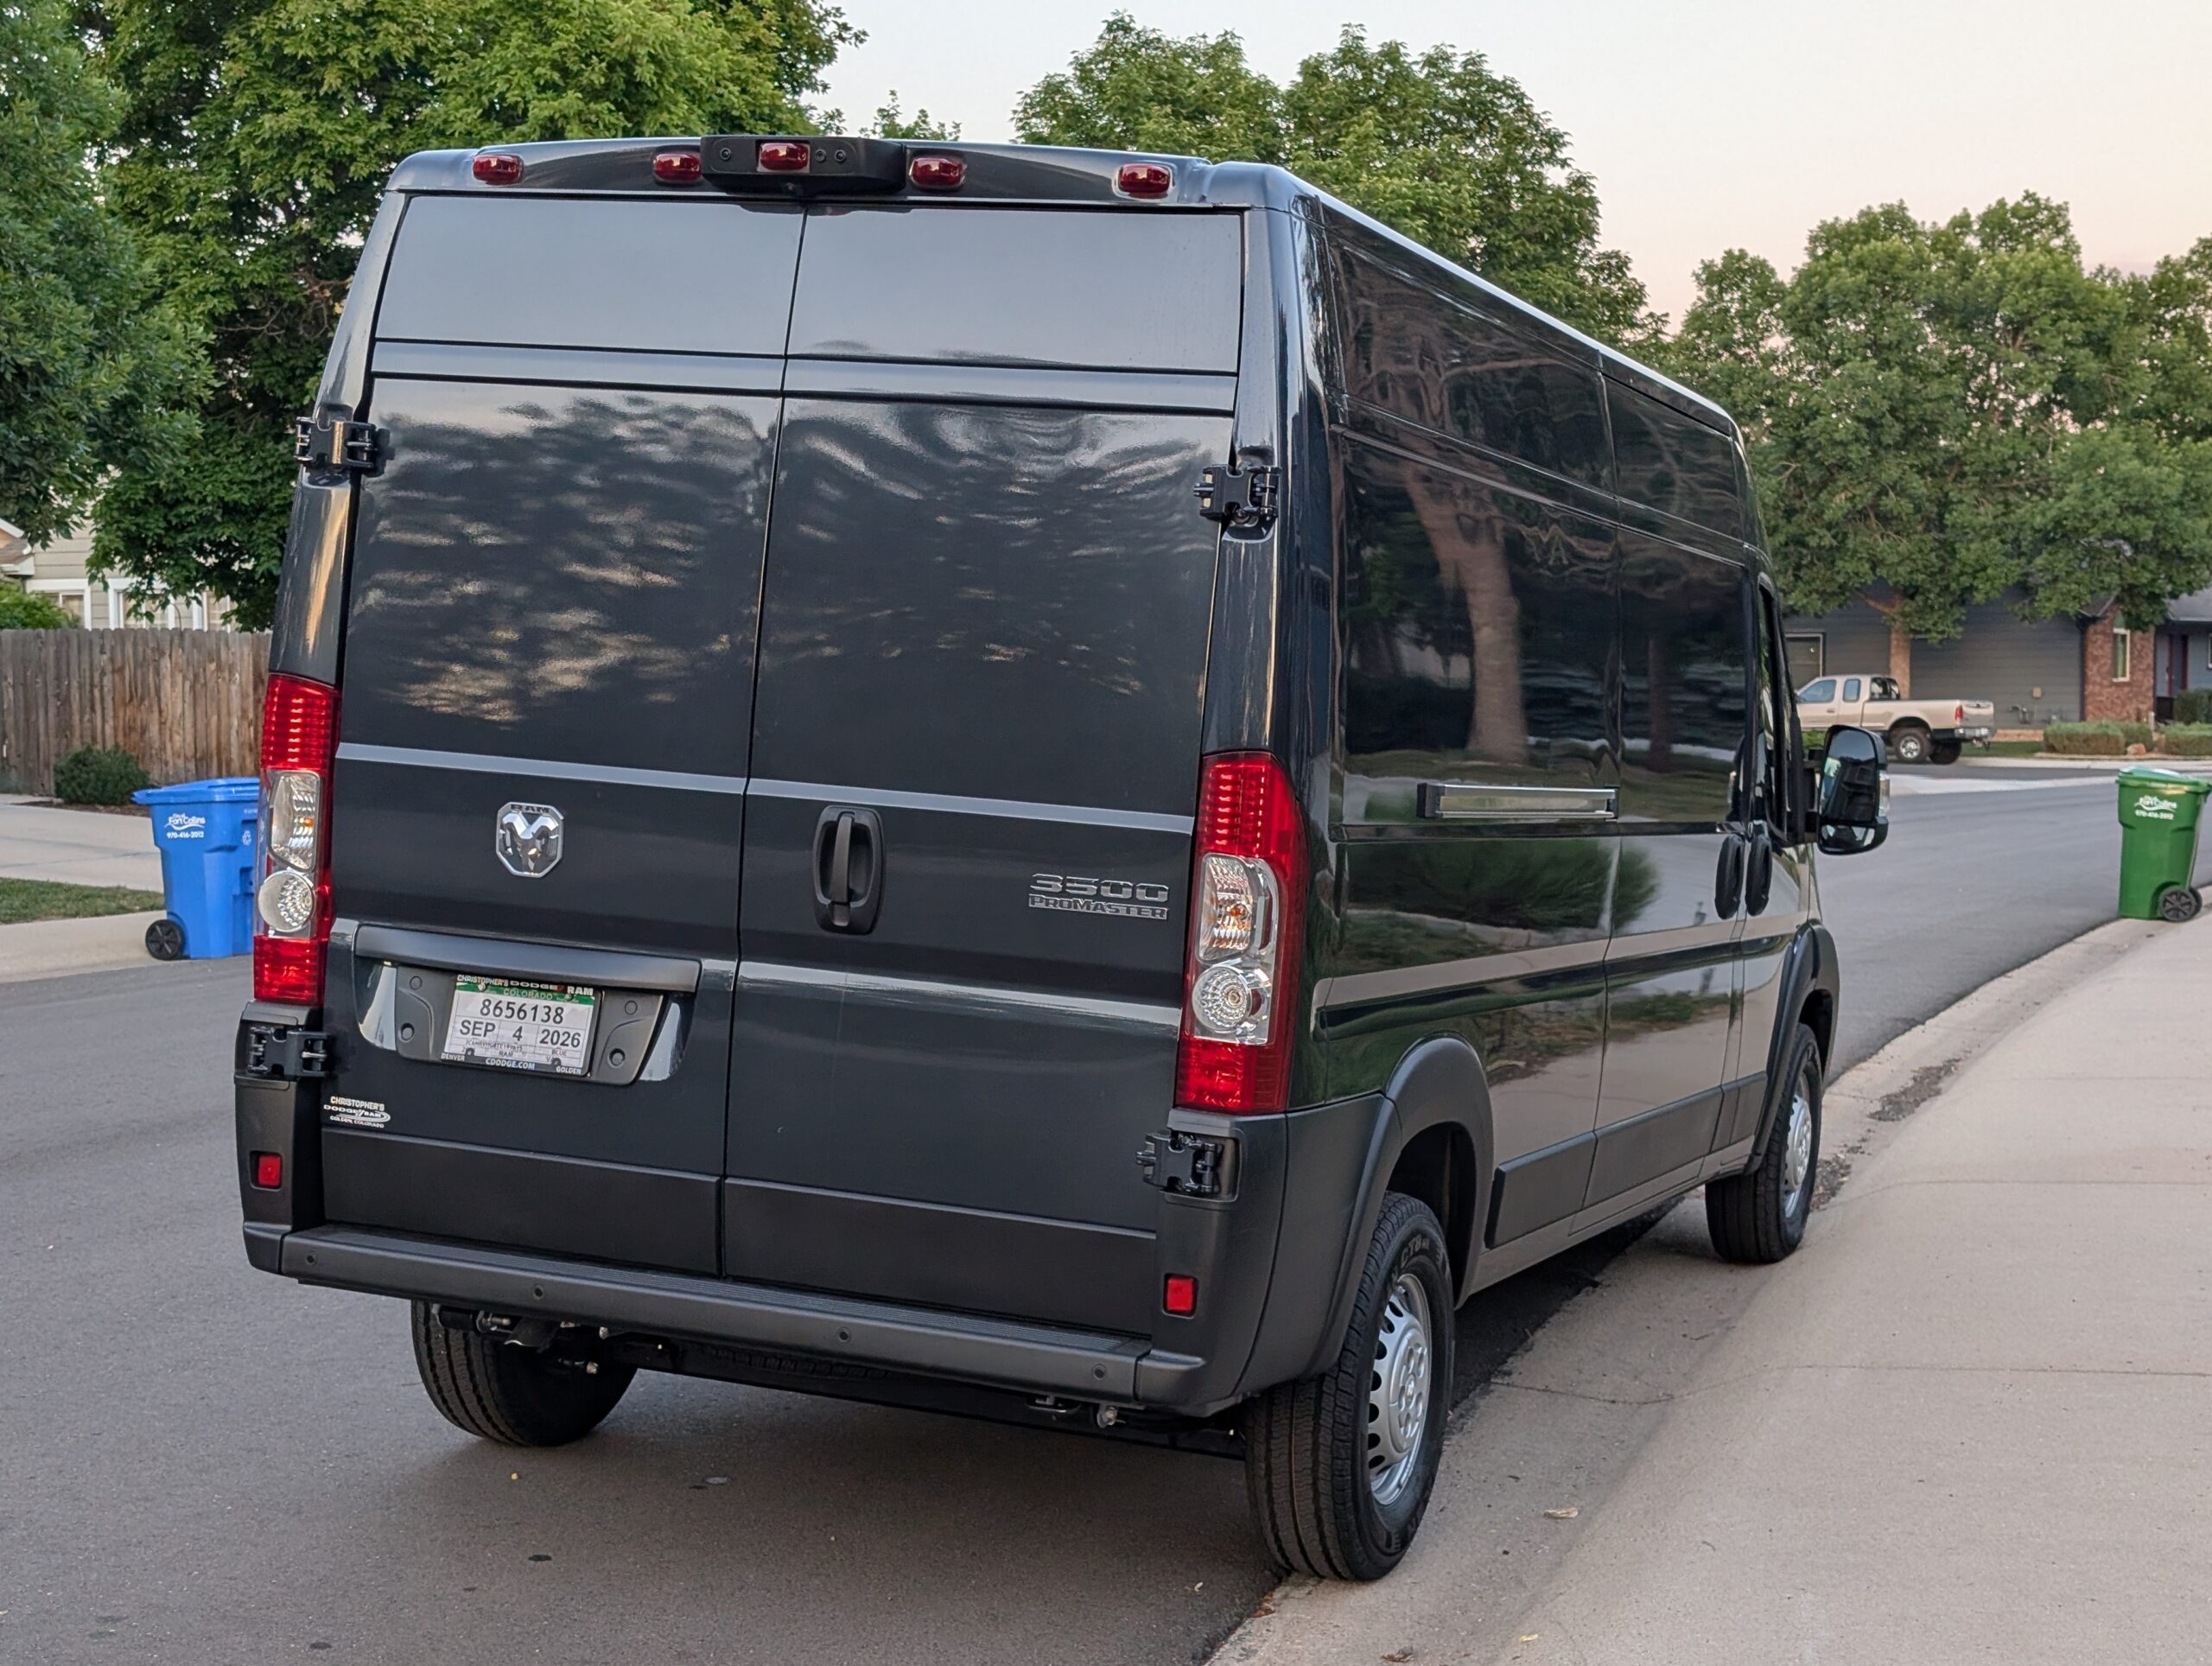
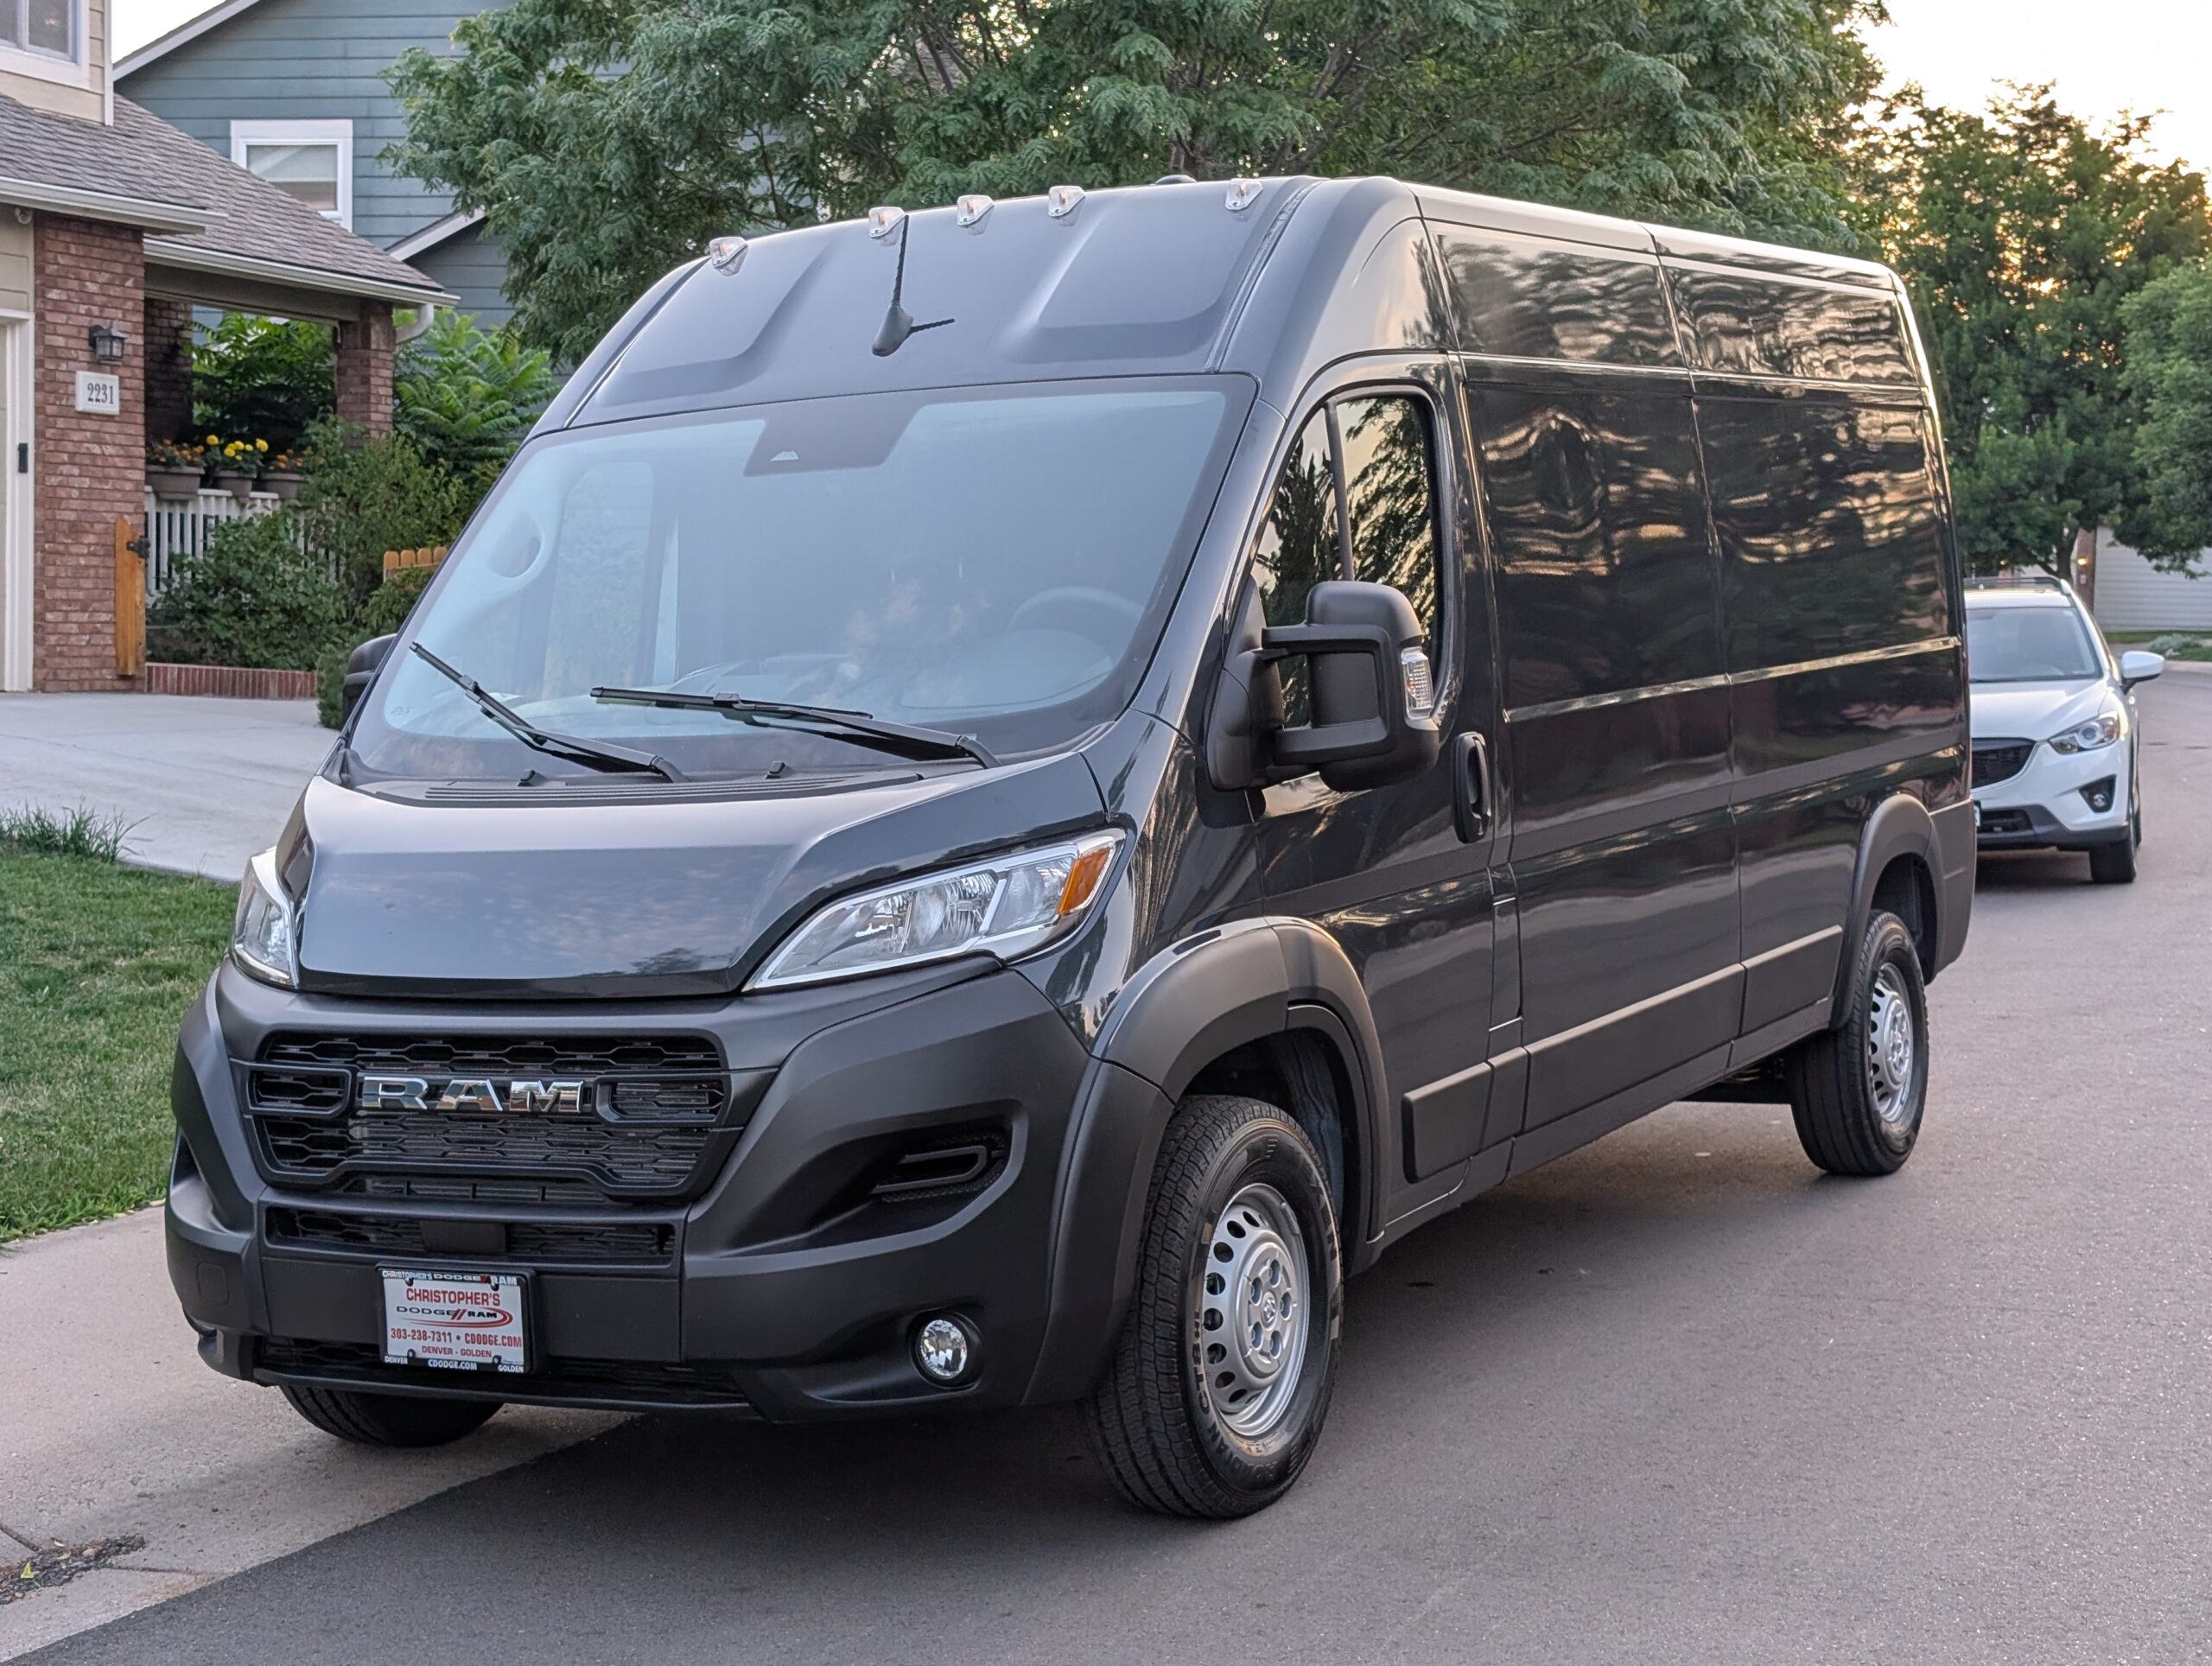
The plan is intentionally simple. I am not trying to build a finished conversion all at once. I want the van to remain useful, adaptable, and easy to maintain as I learn what works best over time. The first phase is about protecting the vehicle, improving comfort, organizing the cargo area, and making careful choices that do not lock the van into a single layout.
Vehicle Overview
The van is a 2026 Ram 3500 ProMaster Cargo Van, configured with a 159-inch wheelbase and high roof. It has Forged Blue Metallic exterior paint, cloth bucket seats, a 3.6-liter V6 24-valve variable valve timing engine, and a TorqueFlite front-wheel-drive automatic transmission.
The van has two seats, one driver seat and one passenger seat. That makes it a good fit for one- or two-person personal travel, longer road trips, and general cargo use.
Notable factory configuration and equipment includes:
| Category | Specification |
| Model year | 2026 |
| Make and model | Ram 3500 ProMaster Cargo |
| Wheelbase | 159 inches |
| Roof | High roof |
| Body | Non-extended cargo van |
| Exterior color | Forged Blue Metallic |
| Interior color | Black |
| Seating | Cloth bucket seats |
| Engine | 3.6-liter V6 24-valve variable valve timing engine |
| Transmission | TorqueFlite front-wheel-drive automatic transmission |
| Fuel tank | 24 gallons |
| Alternator | 220-amp alternator |
| Battery | 100-amp battery |
| Payload sticker | 4,402 pounds for occupants and cargo |
| Suspension | Premium Heavy-Duty Suspension with rear heavy-duty stabilizer bar |
| Spare tire | Full-size spare tire with underslung tire carrier |
The van includes factory safety and driver-assistance features such as Full-Speed Forward-Collision Warning Plus, Pedestrian/Cyclist Emergency Braking, Multi-Collision Braking, Electronic Stability Control, Crosswind Assist, Electronic Roll Mitigation, Trailer Sway Damping, All-Speed Traction Control, Traffic Sign Recognition, Drowsy Driver Detection, ParkView rear backup camera, ParkSense rear park-assist system, and a digital rearview mirror.
Interior and utility-related features include Uconnect 5 with a 7-inch touchscreen, Apple CarPlay, Android Auto, handsfree phone and audio, steering-wheel-mounted audio controls, an instrument-panel 12-volt outlet, a 115-volt auxiliary power outlet, a 12-volt rear auxiliary power outlet, an upfit interface connector, rear cargo LED lamp, cargo storage headliner, and shelf above the roof trim.
Why I Chose This Van
I wanted a practical vehicle with enough room for road trips, personal gear, cargo, and future flexibility. The ProMaster’s cargo shape, high roof, and usable interior space made it a good platform for a simple layout.
The 159-inch wheelbase felt like a good balance. It provides meaningful cargo space without moving into the extended body. I wanted the van to be large enough to be useful, but still manageable for everyday driving, parking, and travel.
I chose the 3500 over the 2500 mainly for future margin. I do not know exactly how the van will evolve, and I may never need the full available payload, but I wanted extra capacity for reasonable future upgrades. Flooring, wall panels, insulation, storage, tools, water, batteries, and travel gear all add weight. Starting with more margin gives me flexibility while still encouraging a disciplined approach to weight.
The van I bought also came with the Premium Heavy-Duty Suspension option, including the rear heavy-duty stabilizer bar. That fits the overall direction of the project. I am not trying to build an unnecessarily heavy van, but I do want the platform to support practical future improvements.
How I Expect to Use It
For the next few years, I expect the van to remain highly versatile. It may be used for solo trips, one-passenger road trips, family travel where two seats are sufficient, hauling gear, and general personal utility.
It may also become an alternative to our 4Runner for some longer trips where interior space, cargo organization, and comfort are more important than rough-road capability. With only two seats, it will not replace every family vehicle use case, but it should be useful for the right kinds of trips.
Longer term, I expect the van’s configuration to evolve as my family’s travel patterns change. It may remain simple, or it may gradually become more refined for longer-distance travel, visits, and exploration. I do not want to assume too much too early. The best layout after several trips may be different from the layout I would design on paper today.
Build Philosophy
The main goal is to keep the van modular, reconfigurable, practical, and serviceable.
I want to avoid building a polished interior before I understand how I will use the space. A flexible first version is more useful than a finished layout that solves the wrong problems. I expect to learn from real use, adjust the layout, and make upgrades over time.
That means I plan to favor removable components, accessible wiring, modular storage, simple mounting approaches, and materials that can be inspected, serviced, or changed later. I want the van to evolve in phases rather than become locked into a single design too early.
Current Status
The first upgrades are focused on protection, comfort, and preparation.
I have a cargo BedRug on order. The goal is to protect the cargo floor, create a more usable working surface, and avoid damaging a more finished floor while I am still testing layouts.
I also ordered sound dampening material. The plan is to apply it selectively to large resonant metal panels, not to cover every square inch. This should help reduce panel vibration and road noise before insulation, walls, or ceiling panels are installed.
I already have front cab window covers for privacy and heat control. Since the van does not currently have rear side windows, I am not rushing to add windows. Keeping the cargo area windowless for now preserves privacy, wall space, insulation options, and layout flexibility.
For temporary power, I already have a Jackery portable power station and a 200-watt portable solar panel. I plan to use those as a flexible early power setup before deciding whether a permanent house battery system, roof solar, or alternator charging is necessary.
Near-Term Build Sequence
The next steps are mostly about doing things in the right order.
First, I want to document and measure the empty van. That includes taking photos, measuring the cargo area, checking likely bed dimensions, noting factory tie-down locations, and thinking about future wiring paths before anything is covered.
Next comes selective sound dampening. The priority areas are likely the rear wheel wells, large side panels, sliding door, rear doors, and some ceiling sections. The goal is to reduce resonance without adding unnecessary weight.
After that, the BedRug can go in as a practical working surface. Once the floor is protected, I can mockup sleeping, storage, and table arrangements using temporary materials before committing to more permanent components.
The next major decisions will likely involve insulation, ventilation, and eventual wall and ceiling panels. I am leaning toward a simple, serviceable insulation approach and removable or semi-removable panels. A roof fan is also likely, but I want to confirm placement before cutting into the roof or closing the ceiling.
Initial Build Priorities
The first phase is focused on basic usability:
| Area | Initial direction |
| Floor | Use the BedRug as a protective working surface |
| Sound control | Apply sound dampening selectively before insulation |
| Insulation | Use a clean, serviceable approach after wiring and ventilation planning |
| Walls and ceiling | Keep panels removable or serviceable where practical |
| Ventilation | Consider a roof fan after confirming location and future roof layout |
| Lighting | Add simple, efficient lighting with accessible wiring |
| Sleeping | Test a temporary or semi-permanent bed before committing to a final design |
| Storage | Start with modular bins, bags, and removable storage |
| Power | Use the Jackery and portable solar first, then upgrade only if needed |
| Windows | Keep the cargo area windowless for now and reconsider after real use |
For sleeping, I am still evaluating options. A full-size mattress footprint is useful for testing two-person sleeping and overall space usage, but I do not want to design the entire van around a permanent bed too soon. A temporary mattress or simple removable platform may be the best first step.
For storage, I expect to begin with modular bins and removable organizers. That will help identify what needs to be accessible, what needs to be secured, and what belongs in the van.
Weight and Payload Awareness
The payload sticker lists 4,402 pounds for occupants and cargo. That gives useful margin, but I still want to be disciplined about weight.
Every build decision adds weight. Flooring, wall panels, ceiling panels, insulation, tools, water, batteries, furniture, storage, and travel gear all add up. I want to preserve useful capacity for real cargo and travel needs rather than consume it with unnecessary permanent fixtures.
The goal is not to make the van as heavy or complex as possible. The goal is to make it practical, safe, balanced, and useful.
What I Am Avoiding Early
I am intentionally avoiding heavy cabinetry, complex plumbing, oversized electrical systems, large permanent fixtures, and expensive finishes in the early phase. Those choices may make sense later, but they should be driven by experience rather than assumptions.
I am also avoiding irreversible changes until I have a better understanding of the layout. That includes windows, permanent built-ins, large roof-mounted systems, and anything that would make future changes difficult.
The van does not need to be fully built to be useful. It can start simple, support basic travel and cargo needs, and improve gradually.
Long-Term Direction
Long term, I want the van to remain a practical personal travel and utility platform. It should be useful for road trips, gear, occasional overnight use, and longer-distance travel where extra interior space is helpful.
The build may eventually include a more refined sleeping platform, improved lighting, insulation, wall and ceiling panels, better storage, a compact water setup, a small refrigerator or cooler, and a more permanent electrical system. Those decisions do not need to happen all at once.
For now, the plan is to keep moving in the right order: protect the van, reduce noise, preserve flexibility, test layouts, and make careful upgrades over time. I believe that the best version of this van will come from using it, learning from it, and letting the build evolve. I am also not assuming there will ever be a finished state, just an evolution of configuration as my needs change.
Additional Notes on the Selection Process
Before purchasing this van, I also researched and test drove the Ford Transit and Mercedes-Benz Sprinter. I test drove several ProMasters before choosing this one. In the end, this van was the best overall fit for my plans.
At first, I thought the Transit felt the best of the three on the road, and the ProMaster felt the least natural to me. After driving more ProMasters, however, I became more comfortable with how they drive. The driving position, visibility, cargo shape, and overall simplicity started to make more sense for the kind of practical personal-use build I had in mind.
I was also initially concerned about the ProMaster’s reputation for reliability compared with the Transit and Sprinter. After more research, I became comfortable with the decision. Some older ProMaster model years raised more concerns for me, but my research gave me more confidence in the later model years. The 2026 model year also includes a 10-year, 100,000-mile powertrain limited warranty for retail purchases, which helped with my comfort level.
One of the biggest advantages of the ProMaster for this project is its width and buildability. The interior shape is well suited to a simple owner-built layout, and it should allow a sideways bed without adding exterior pods. That is less practical in many Transit and Sprinter layouts unless additional space is added.
The Transit had several real advantages. The Ford service network is broad, which can matter when traveling. The Transit also offers options such as all-wheel drive and a turbocharged engine. Those features are attractive, and I understand why they are important to many buyers. For my needs, however, they were not deciding factors. I was willing to give up all-wheel drive to reduce mechanical complexity and keep the build aligned with how I expect to use the van.
Because I live in Colorado, winter capability was part of the decision, but it was not the dominant factor. I have other vehicles that are better suited for snow, and I can usually choose when and where I use this van. I have not driven either a Transit or ProMaster in snow, so I do not want to overstate the comparison. Based on my experience with other vehicles, I would expect drivetrain layout, tires, weight, traction control, and driving conditions all to matter. For this van, snow performance was not important enough to outweigh the other factors.
The Sprinter was also a serious option. It has a large owner community, strong aftermarket support, and a long history as a popular platform for travel and upfit projects. You see Sprinters everywhere, and many owners are clearly very happy with them.
For me, the Sprinter raised different questions. I have never owned a diesel, and I like doing a lot of my own vehicle work. As I read more about Sprinter maintenance, diesel emissions systems, and ownership considerations, I became less comfortable with it for this project. The Sprinter has a strong reputation in many circles, but the more I researched, the more nuanced the decision became. Terms like “high quality” and “German refinement” came up often, and I do think the Sprinter is a quality product. Still, quality did not automatically make it the best choice for my needs.
Cost, availability, service access, drivetrain preference, maintenance comfort, and interior layout all mattered. The Sprinter would have been a strong choice, and the Transit would have been a strong choice as well. There are satisfied owners, critics, and anecdotal problem reports for all three platforms. Model year, configuration, powertrain, maintenance history, and intended use all matter, which makes it difficult to declare any one van the best overall.
For this project, the ProMaster made the most sense. It offered the combination of interior shape, usable width, simplicity, payload margin, availability, and build flexibility that best matched what I wanted to do. I am not claiming it is the best van for everyone. I am saying it was the best van for my needs.
So, what will I use this cargo van for first? Mostly, as a plain old cargo van. The first practical use will be moving things, including clearing out our storage unit and making runs to Goodwill, the landfill, and other places as needed. I also have a shed, garage, and crawlspace that needs attention after 16 years in the same house and far too much accumulated stuff. Before I get too excited about modifications for other uses, I want to take advantage of the fact that I now have a large cargo van with plenty of room to help reorganize and simplify some of the stuff in my life.
Some updates since this blog was posted: ProMaster Camper Van Build — Current Configuration, Status, and Plans